You’ll spend a lot on supplies, but you may still save money by DIYing.
Need professional help with your project?
Get quotes from top-rated pros.
What you'll need:
TOOLS
Tile scraper
Chisel
Eye protection
Safety mask
Plastic sheets
Long straight edge
Chalk
Rubber grout float
Notched trowel
Drill with mixing paddle
Tape measure
Tile cutter
Tile nippers
A-square or framing square
SUPPLIES
Ceramic tile
Concrete backing board or uncoupling membrane
Thin-set mortar
Grout
Silicone sealant
Grout sealant
Whether you’re remodeling your kitchen or are simply tired of looking at the outdated tile in your bathroom, these shower tile ideas for tile projects can give you the inspiration you need to make a change. While you may choose to hire a local tile installer for this labor-intensive task, it can be a manageable DIY project–if you prepare properly.
Follow these seven steps to give your space the timeless strength and beauty of new ceramic tile floors.
Preparing to Install Ceramic Tile Flooring
Remove Old Flooring
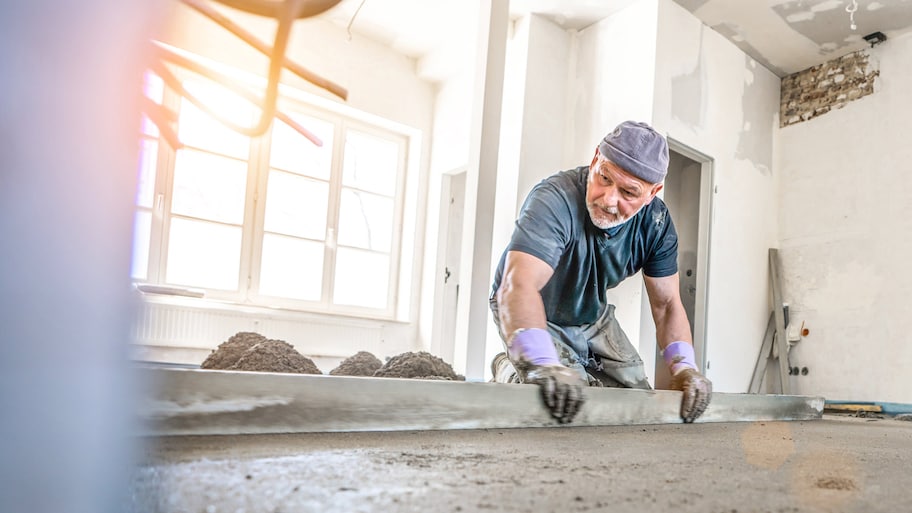
If your installation is happening in a room that already has an old tile floor, you will need to chisel it out and remove the existing flooring with a tile scraper. This part of the job can get dusty, so wear eye protection and a safety mask. Establish good ventilation by opening windows, if possible. Protect adjoining rooms by placing plastic sheets down to catch airborne dust.
Once your old floor is cleared away, inspect the substrate (or subfloor). This is the surface you’ll install your tile on. A subfloor for tile can be solid concrete, exterior plywood, concrete backer board, or an uncoupling membrane.
If you use a membrane, cut it to size, adhere it to the subfloor with mortar, and waterproof the seams with waterproofing tape. Make sure you understand the difference between grout and mortar so you don’t make a mistake and use the wrong material.
Regardless of what your subfloor is made of, it should be clean, level, and stable. If it’s uneven or flexes beneath weight, solve the issue now before installation to avoid broken tiles and cracked grout in the future. Waiting to take care of the issue until after it becomes a problem could increase the cost of tile installation if you need to redo it in the future.
Dry-Fit Floor Tiles Using Spacers
Before adhering any tiles, create a dry-fit to map out what your final installation will look like. Strive to create a layout that maximizes the number of whole tiles, and minimizes the size of any cuts you’ll need to make to the tiles.
Pro Tip: Place awkwardly-cut tiles out of the main line of sight from the doorway, such as where a vanity will cover them.
To make your finished surface as symmetrical as possible, measure to find the center of each wall. Snap a chalk line between the center points of both sets of opposite walls to create four quadrants. The intersection of the two chalk lines will be your starting point.
Start your first row, mixing tile from different boxes to help keep the color consistent throughout the room. If you end up with small pieces (less than 2 inches wide) on either edge, shift your layout to make your edge tiles wider and mark new chalk lines in the center. You’ll want your tile measurements at opposite walls to be the same. Repeat this process for the other two walls.
Prepare Your Mortar and Spread the First Section
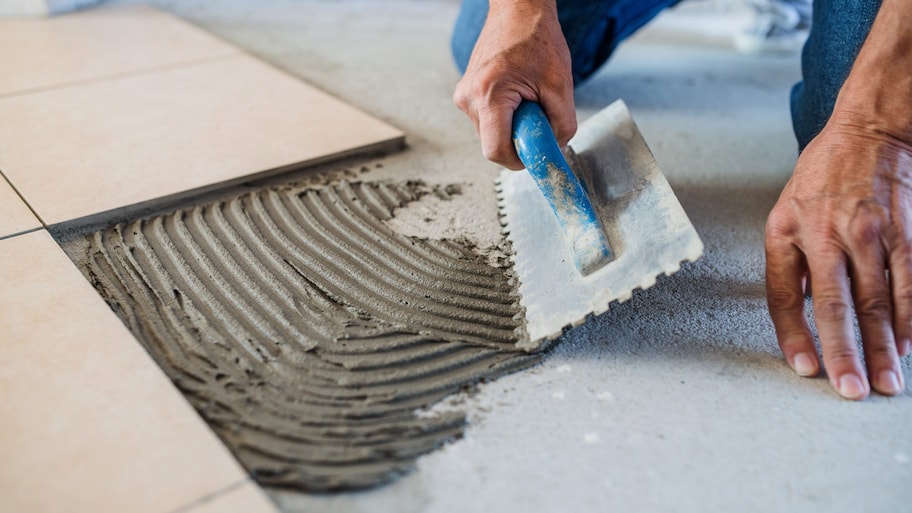
Photo: Halfpoint Images/Moment/Getty Images
Mix your mortar by following the instructions on your package. It should be roughly the consistency of peanut butter. Let it rest for about 10 minutes (or the amount of time recommended on the packaging).
Using your trowel, spread an even layer of mortar over a 2-by-3-foot area along the straight edge of your starting point lines.
Comb the mortar at a 45-degree angle with the notched edge of your trowel for better adhesion, pressing down hard so that the trowel makes a scraping sound. Working in small sections at a time will help prevent the mortar from drying too quickly.
Set the Tile
Using a straightedge as a guide, gently lay your first tile on the mortar along the starting line. Consistent pressure helps ensure each tile sits at the same height as its neighbors. Place tile spacers for even joints, and continue to set each tile the same way.
As you work, use a damp sponge to wipe away any mortar that gets on your tile surface. Use a level periodically to check that your tiles are even, and use an A-square or framing square to check that they are sitting squarely to one another.
Cut Your Tile, As Needed
When you get to an edge where cuts need to be made, use a tile cutter for straight cuts. If you need to make a small cut (less than 1-inch wide) or a curved cut, score the tile first and snap pieces off with a handheld tile nipper. Be sure to leave a one-quarter-inch gap around the perimeter of the room for grout expansion.
Fill Tile Joints With Grout and Clean
Photo: Rawpixel/iStock / Getty Images Plus / Getty Images
Once all tiles are set, wait 24 hours before adding grout. After the wait is over, remove all tile spacers. Mix your grout and scoop a trowel full onto the floor. Starting from the edges of the room and working your way toward the center, spread and press the grout into your joints using the rubber float, held at a 45-degree angle–just like when you were spreading mortar to set the tiles.
Allow the grout to set for about 20 minutes, or until it’s firm to the touch. Next, wash the tile by wiping the surface with a damp sponge and clean water. Wipe away the grout haze, rinsing your sponge often. You may have to repeat this process several times. Don’t wipe too aggressively, or you may accidentally pull the grout out of the joints. To keep the floor in good condition, make sure you know how to clean floor tile grout.
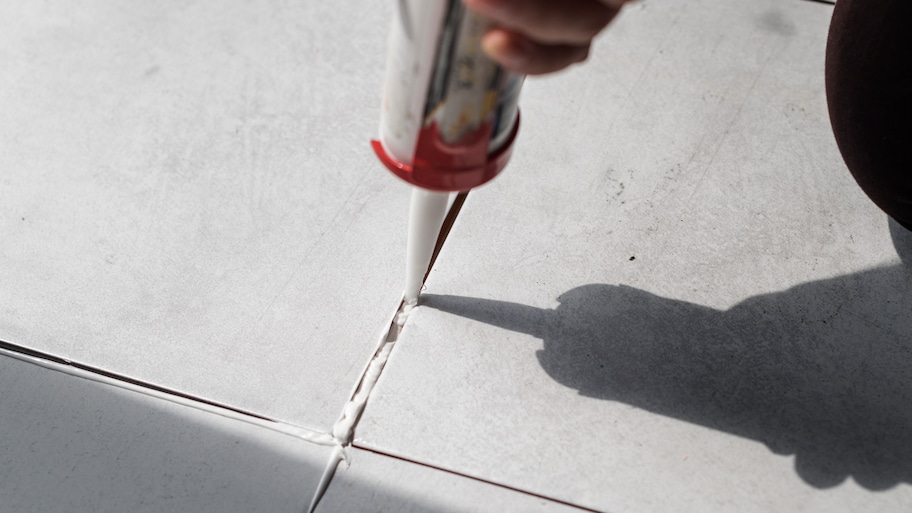
Seal the Grout After Tile Sets
To finish your floor tile installation, apply a silicone sealant to the one-quarter-inch expansion gaps on the perimeter. Wait three weeks (or whatever amount of time is recommended on your grout packaging) to apply a grout sealant as well. When the sealant is set and dry, you can install baseboards, molding, transition strips, vanities, and toilets. If you’re installing tile in a shower, you may also want to consider tile shower waterproofing.
DIY Ceramic Tile Installation vs Hiring a Pro
If you choose to install tile yourself, plan to spend between $3 to $7 per square foot on material alone. Be sure to order an additional 20% to account for cuts you’ll need to make and breakage that may occur. For a 100-square-foot space, that’s about $600 on average. That cost doesn’t include the cost of the other tiling tools and materials you’ll need.
When you hire a contractor, their cost accounts for tools, which they should have on hand. They’ll typically charge about $4 to $5 per square foot for labor plus 20% profit. The average cost to install ceramic tile is between $1,580 and $1,920 for today’s latest kitchen and bathroom tile trends.
Frequently Asked Questions
Ceramic tile adheres best with premixed adhesive or mortar. If you’re installing the tile in an area with moisture, such as a bathroom or kitchen, opt for waterproof adhesive, and if you choose mortar, make sure it’s thick because that is the easiest to work with and ensures the tiles will sit flat.
The underlayment determines a ceramic tile’s sturdiness, and a cement board or backer board works best. Be sure to tape the joints when using these materials, and consider laying it on top of a layer of thin-set for more stability.
If you want your ceramic tiles to be evenly spaced and installation to take less time, spacers are a crucial part of the installation process.
It’s important to leave a gap in the corner when tiling to allow room for tile expansion. Leaving between one eighth of an inch to one tenth of an inch is enough space.
Samantha is a full-time personal finance and real estate writer with 7 years of experience covering real estate and home renovation topics. She has publications on popular sites, including Rocket Mortgage, Quicken Loans, and Bigger Pockets.
Samantha is a full-time personal finance and real estate writer with 7 years of experience covering real estate and home renovation topics. She has publications on popular sites, including Rocket Mortgage, Quicken Loans, and Bigger Pockets.
The homeowners guide to Ceramic Tile
From average costs to expert advice, get all the answers you need to get your job done.