Lesson 2: Creating relationships
Learn how to connect two content types to each other and configure how you make those connections in Admin UI.
Where we left off
In the first lesson we got our Keystone blog project up and running with a database and user list:
// keystone.tsimport { config, list } from '@keystone-6/core';import { allowAll } from '@keystone-6/core/access';import { text } from '@keystone-6/core/fields';export default config({db: {provider: 'sqlite',url: 'file:./keystone.db',},lists: {User: list({access: allowAll,fields: {name: text({ validation: { isRequired: true } }),email: text({ validation: { isRequired: true }, isIndexed: 'unique' }),},}),},});
We’re now going to create a post list type, and connect it to users with relationship fields.
Make a Lists object
Before we define fields for a post type, let's pull lists out into its own object so it's easier to reason about going forward:
import { config, list } from '@keystone-6/core';import { allowAll } from '@keystone-6/core/access';import { text } from '@keystone-6/core/fields';const lists = {User: list({access: allowAll,fields: {name: text({ validation: { isRequired: true } }),email: text({ validation: { isRequired: true }, isIndexed: 'unique' }),},}),};export default config({db: {provider: 'sqlite',url: 'file:./keystone.db',},lists,});
Protip: you could also move lists into its own file, and import it into keystone.ts
Create a Post list
To create a post type we add a second Post key to the lists object. Let’s add another text field for the post’s title to begin with:
const lists = {User: list({access: allowAll,fields: {name: text({ validation: { isRequired: true } }),email: text({ validation: { isRequired: true }, isIndexed: 'unique' }),},}),Post: list({access: allowAll,fields: {title: text(),},}),};
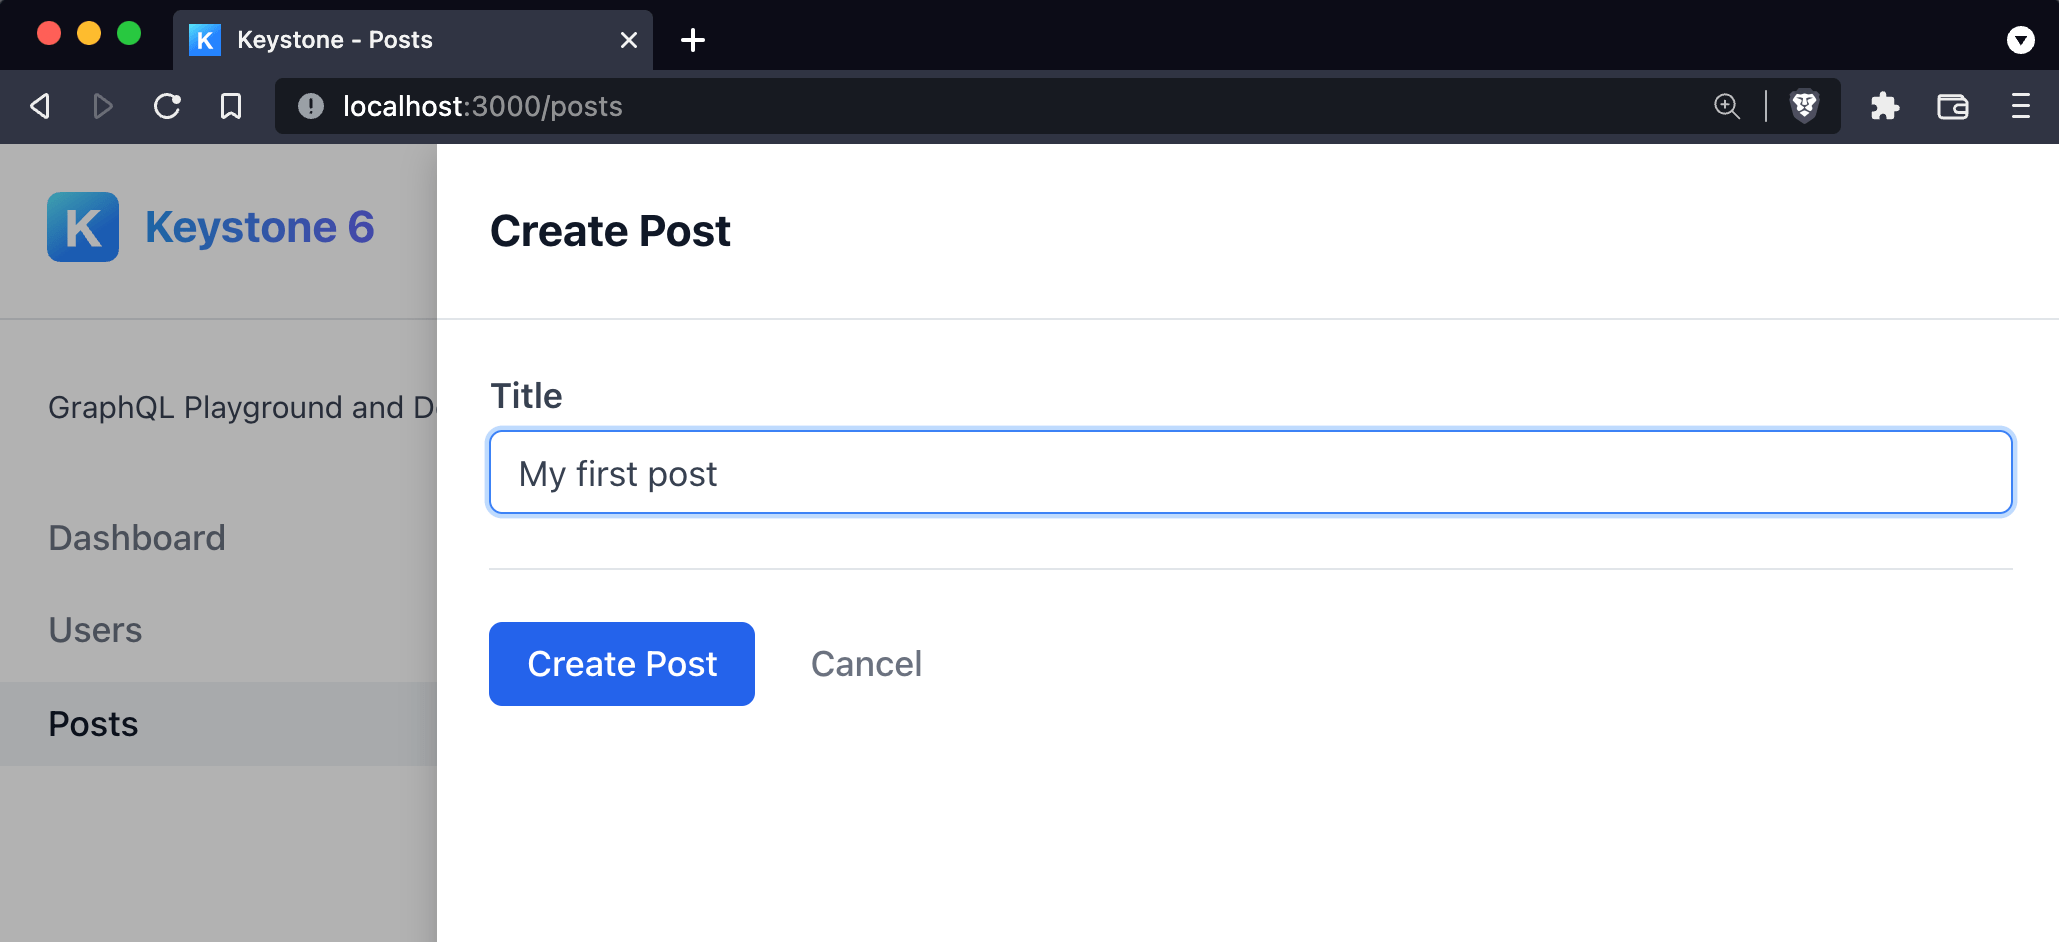
Let's check that this works. Boot up our Keystone app and have a look:

We’re skipping over the "content" field for the time being to keep this lesson focused on relationships. We’ll come back to it in Lesson 5.
Connect Users with Posts
Now that we have two lists, let's make a relationship between them. When deciding how to relate lists it's helpful to consider:
- Should a user be able to create one or many posts?
- Should a post be attributable to one or many users?
Let’s say that a post can be associated with only one user, but a user can have many posts. To create this relationship, we will add a relationship field to each list that defines their connection to one another:
import { config, list } from '@keystone-6/core';import { allowAll } from '@keystone-6/core/access';import { text, relationship } from '@keystone-6/core/fields';const lists = {User: list({access: allowAll,fields: {name: text({ validation: { isRequired: true } }),email: text({ validation: { isRequired: true }, isIndexed: 'unique' }),posts: relationship({ ref: 'Post.author', many: true }),},}),Post: list({access: allowAll,fields: {title: text(),author: relationship({ ref: 'User.posts' }),},}),};
The relationship references the name for the field of the list it is relating to make it two-sided, so the author field relates to User.posts, while the posts field relates to Post.author.
Naming relationships can be important if lists have multiple relationships. If, for example, we wanted to let users also 'like' posts, we could add a second differently named relationship field between User and Post called 'likes'.
Let's open the Admin UI and create a post:

Configure a field’s appearance
In our current schema, the author field provides a select input to connect a user to the post. This is the default displayMode for this field type.
In Keystone it's possible to change that display to suit your needs. This is achieved with a field's ui option. Each field comes with different ui options that you can explore. for the author field we’ll make a few changes to improve the editing experience for Admin UI users:
//keystone.tsPost: list({access: allowAll,fields: {title: text(),author: relationship({ref: 'User.posts',ui: {displayMode: 'cards',cardFields: ['name', 'email'],inlineEdit: { fields: ['name', 'email'] },linkToItem: true,inlineCreate: { fields: ['name', 'email'] },},}),},}),
We've made a few changes here, so let's break them down:
- The
displayModeof the relationship is shown ascards - We've made sure that the card links to fields in the
userlist withlinkToItem - We made the user attributes of
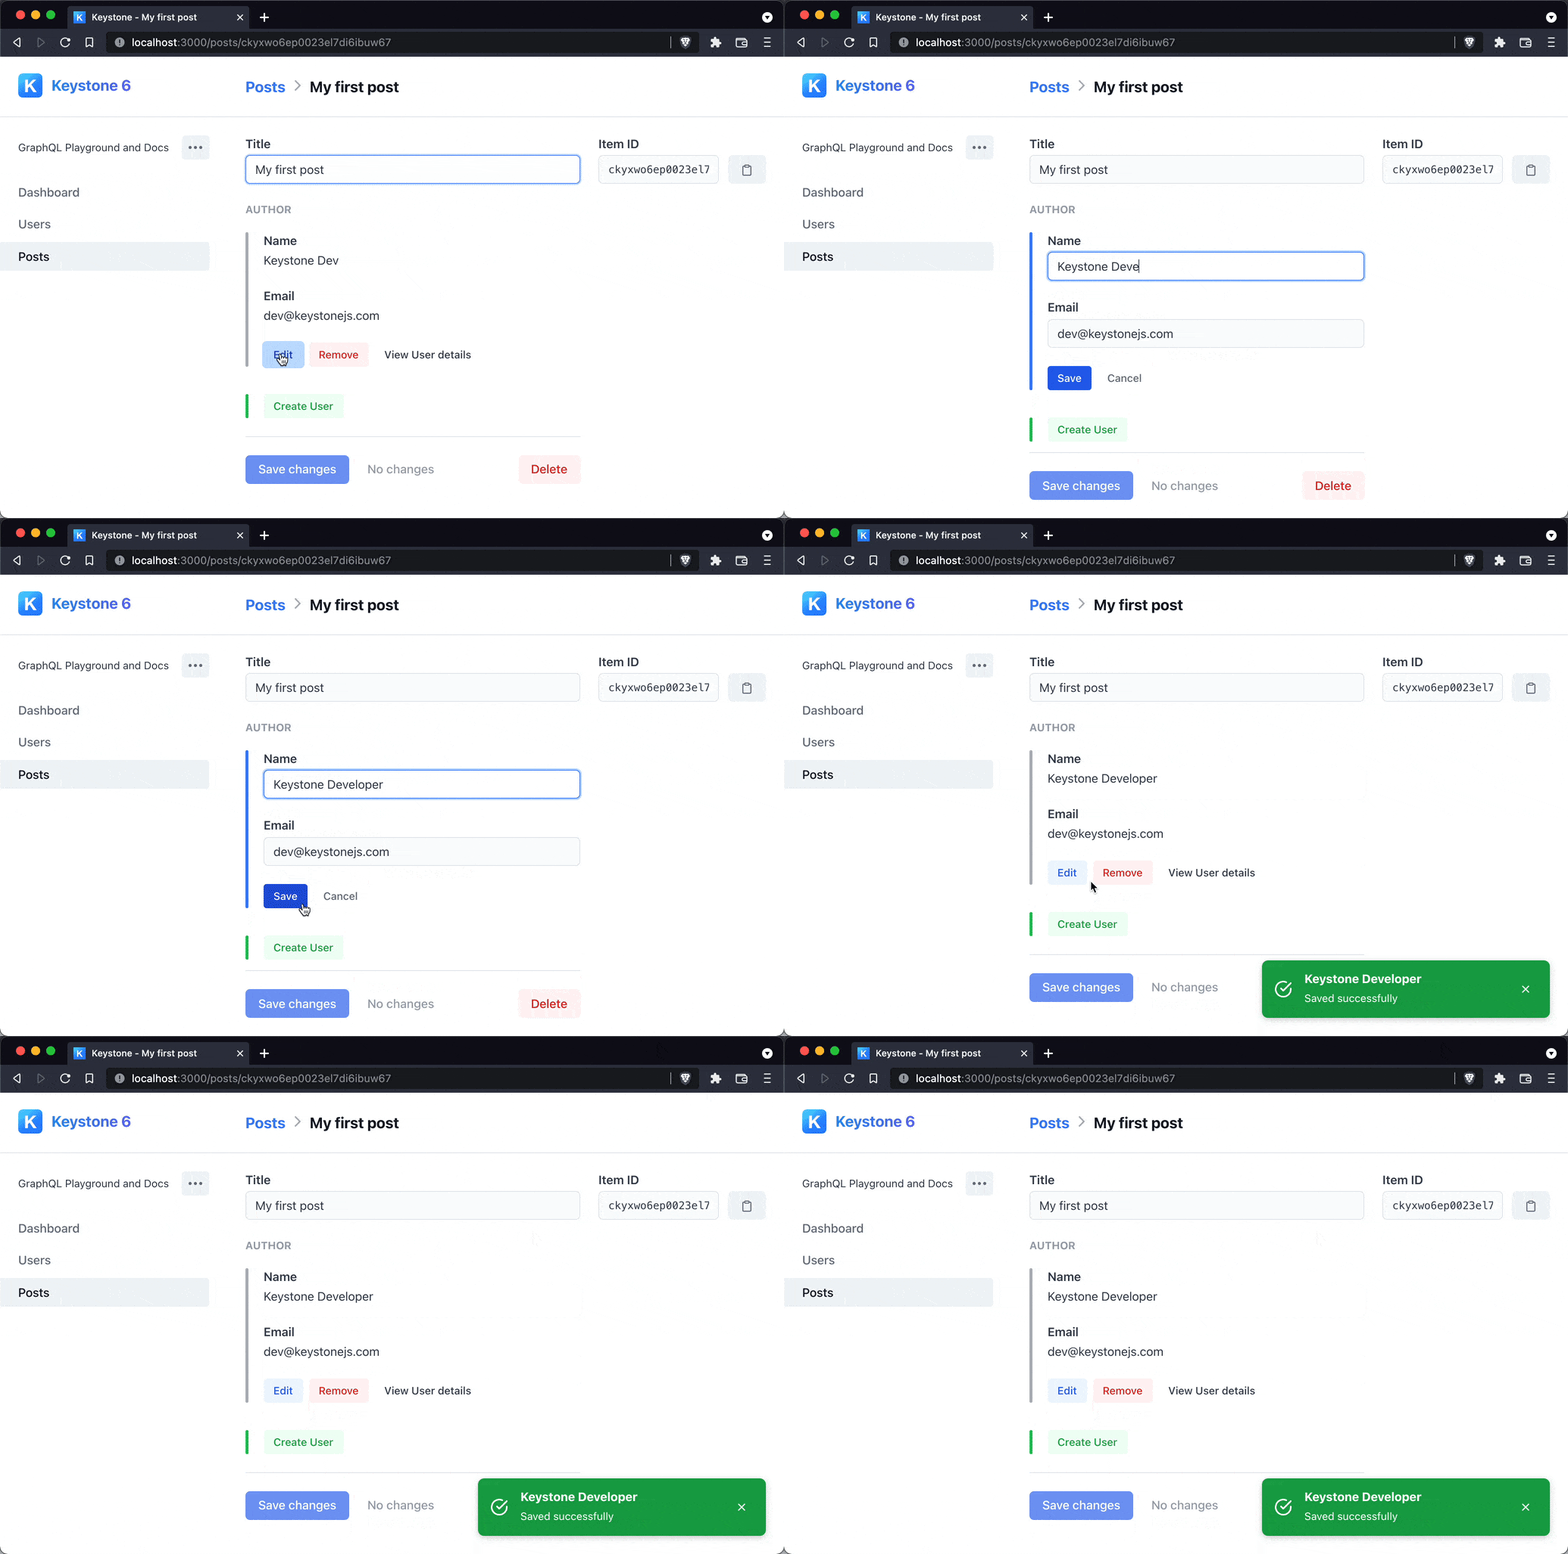
nameandemaileditable inline withinlineEdit
With a dash of extra config we’ve created a very different editing experience where user data can be altered directly in the post form:

What we have now
Our app has a new post list with a title and a link to users via the author field that you can edit inline with the cards UI display mode. Admin UI editors can also create posts from the user form with a two-way relationship.
// keystone.tsimport { config, list } from '@keystone-6/core';import { allowAll } from '@keystone-6/core/access';import { text, relationship } from '@keystone-6/core/fields';const lists = {User: list({access: allowAll,fields: {name: text({ validation: { isRequired: true } }),email: text({ validation: { isRequired: true }, isIndexed: 'unique' }),posts: relationship({ ref: 'Post.author', many: true }),},}),Post: list({access: allowAll,fields: {title: text(),author: relationship({ref: 'User.posts',ui: {displayMode: 'cards',cardFields: ['name', 'email'],inlineEdit: { fields: ['name', 'email'] },linkToItem: true,inlineCreate: { fields: ['name', 'email'] },},}),},}),};export default config({db: {provider: 'sqlite',url: 'file:./keystone.db',},lists,});