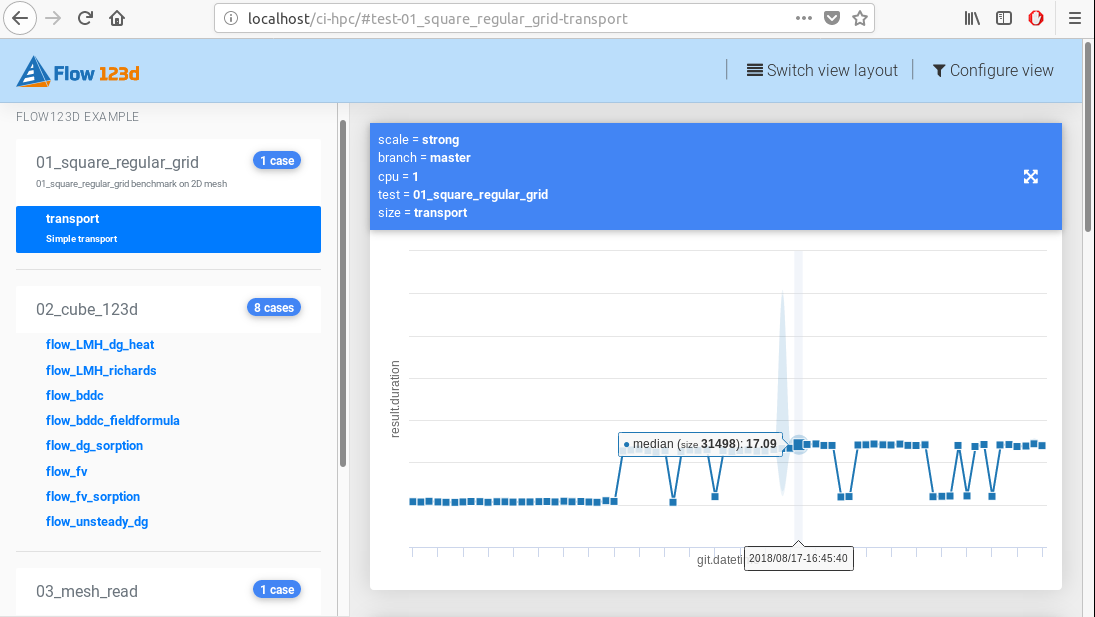
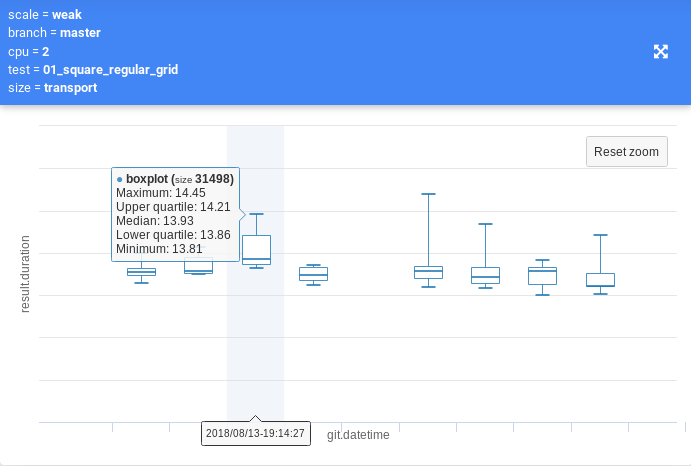
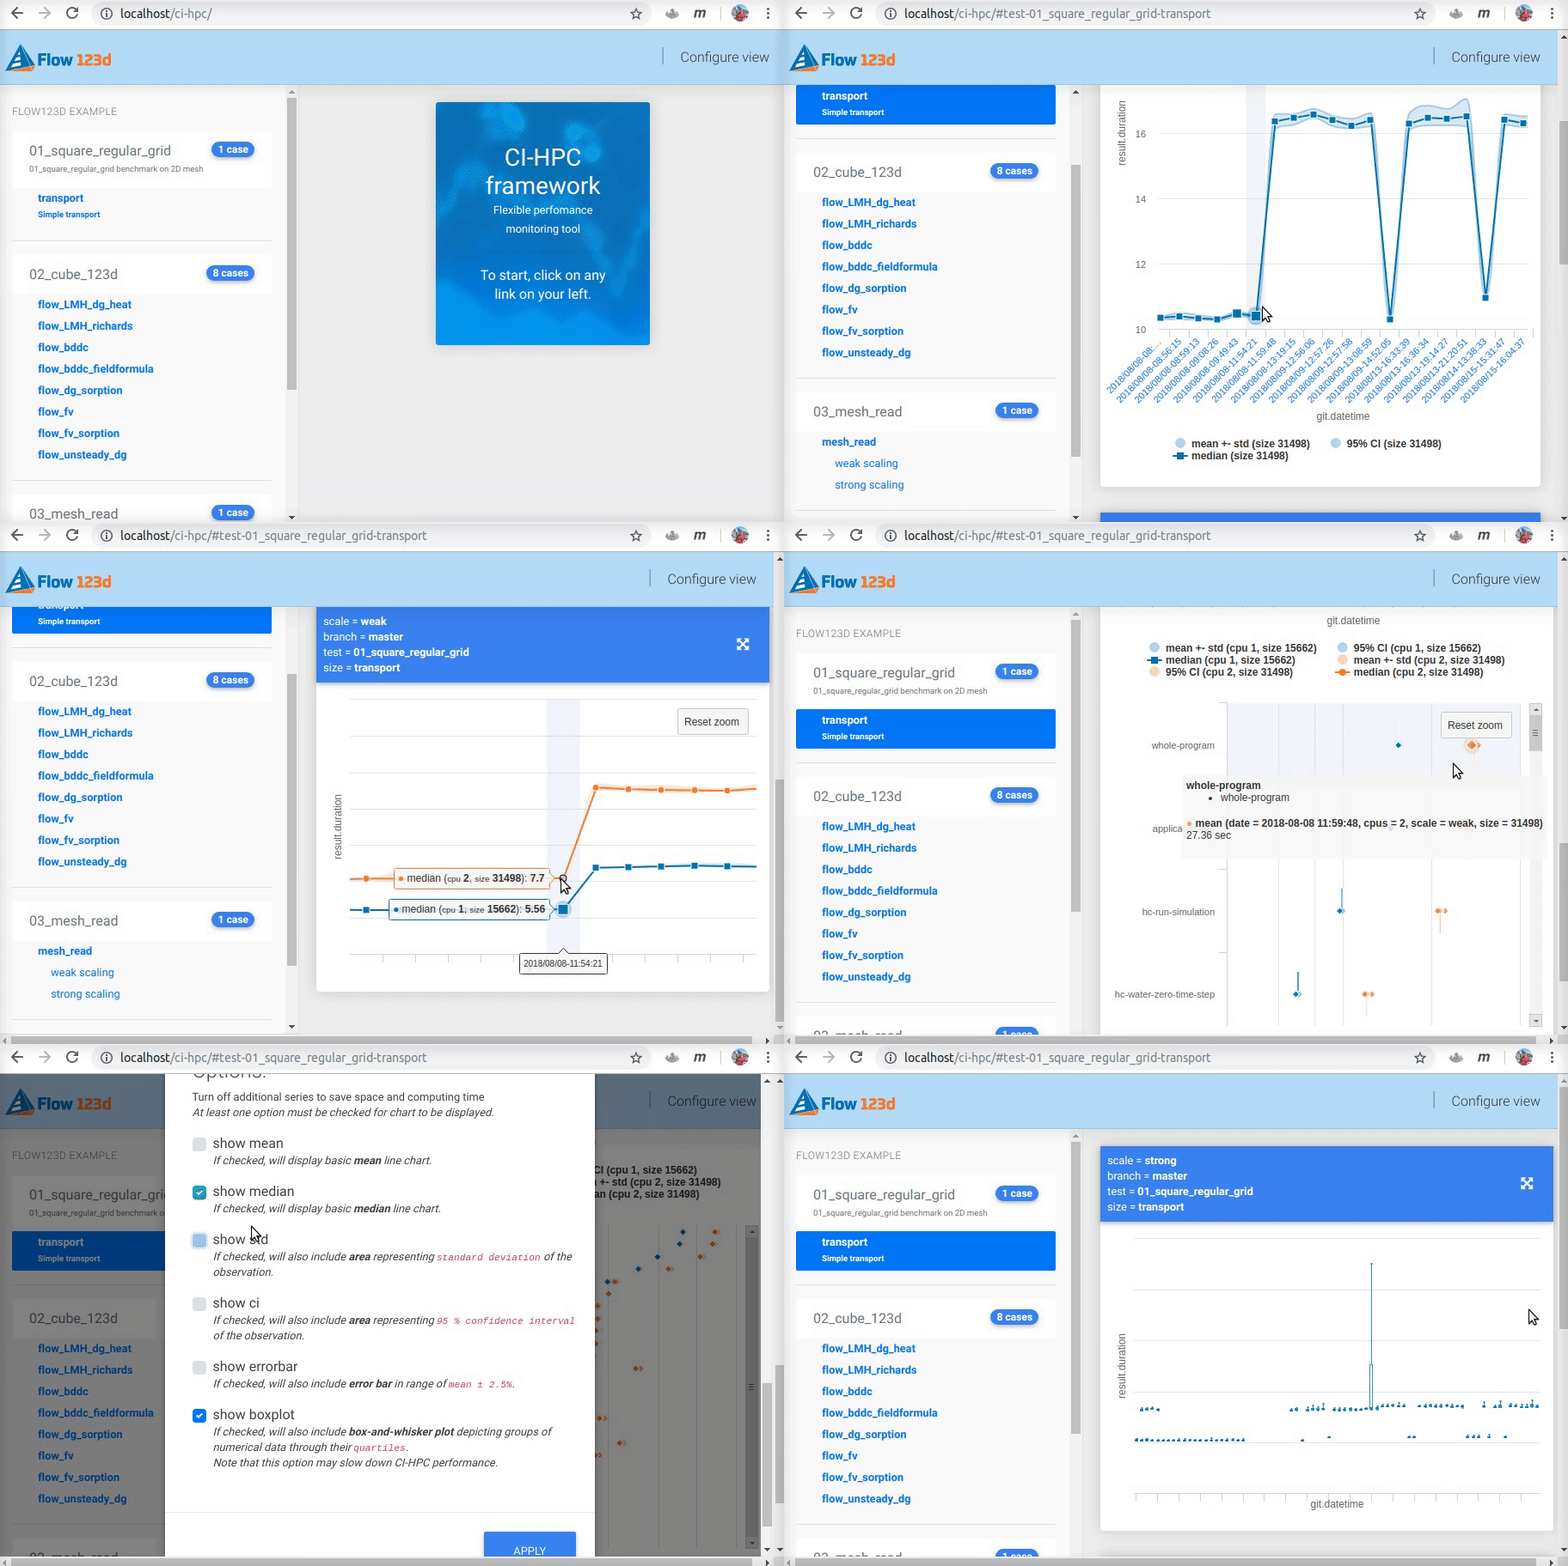
A simple framework which can monitor the performance and scalability of software packages. The framework presented here combines Continuous Integation & High Performance Computing together with a minimalistic set of Python scripts. The results can be visualised in form of static Jupyter notebook or in an interactive web page.
- automatically run benchmarks of your project
- inspect performance and scalability of your project
- create complex configurations with travis-like syntax build matrix capabilities (
YAMLformat)
-
First install the framework by executing:
pip3 install --user ci-hpc
-
Create a configuration (file
config.yaml) for your repository. In this cofiguration, you should specify several options.-
ci-hpcneeds to know, which repositories are part of your project. You can specify one or more repositories. Each repository will be cloned and checked out when installing. -
You also need to tell the
ci-hpchow to install your project.
It can be as simple as./configure; make; make install
orpip install ./foo/But it can be also quite complex, you can even simplify entire process with usage of install file:
with something like this!sh install.sh(install.shin this case is a shell script, which contains your installation process) -
Next thing is testing section. Here,
ci-hpcneeds to know, what benchmarks you want to run under what configuration. You can create complex build matrices so your configuration can be kept simple and transparent.
-
-
When you are done with the configuration. You should probably verify, it is working. Assuming the following structure:
.
└── hello-world
   └── config.yaml
Execute
ci-hpcwithcihpc --project hello-world -
If everything works, setup a mongoDB server and add collection section (once again file
config.yaml):-
ci-hpcneeds to know, what results you want to store. Is it a somejsonprofiler oryamlresults? or are the timings save in axmlformat? In theci-hpcthere is some general support for thejsonandyamlformats, but you can write your ownartifactmodule and simply put it in the correct folder. -
The most of the heavy lifting is already done in a parent class so adding a new collection module should be relatively easy.
-
-
Now to display the results, setup a visualization server.
- now supporting multiple repositories within single project
- speed up testing process by using multiple cores on a computing node
- easily run ci-hpc on a previous commits by using
commit-browsermodule - automatically determine which tests to run based on the previous results
- webhook support, automatically start
ci-chpupon new commit
- run extra tests when suspecting significant performance change
- create web visualisation configuration from analyzing records in database
Read the docs at ci-hpc.readthedocs.io to know more about installation.


