Up Your Hobby Game by Organizing Your Craft Room Like the Pros
Get creative with these pro-level craft area organization tips


Highlights
You can create a designated crafting workspace with assigned storage areas.
You should take inventory and group similar tools and supplies together.
Try to design your space for your unique workflow.
Professional organizers typically charge between $55 and $100 an hour.
We've all seen the dreamy Pinterest posts of pristinely organized pegboards, craft closets, and workspaces—and how rarely these pictures look like our art rooms after a day of epic crafting. An impressively designed craft room doesn't have to be a pipe dream if you take a page from the professional organizer's handbook. Whether you're a quilter, scrapbooker, or Cricut champion of the year, a well-arranged craft room can inspire, streamline, and de-stress your next creative project.
Create a Designated Craft Space
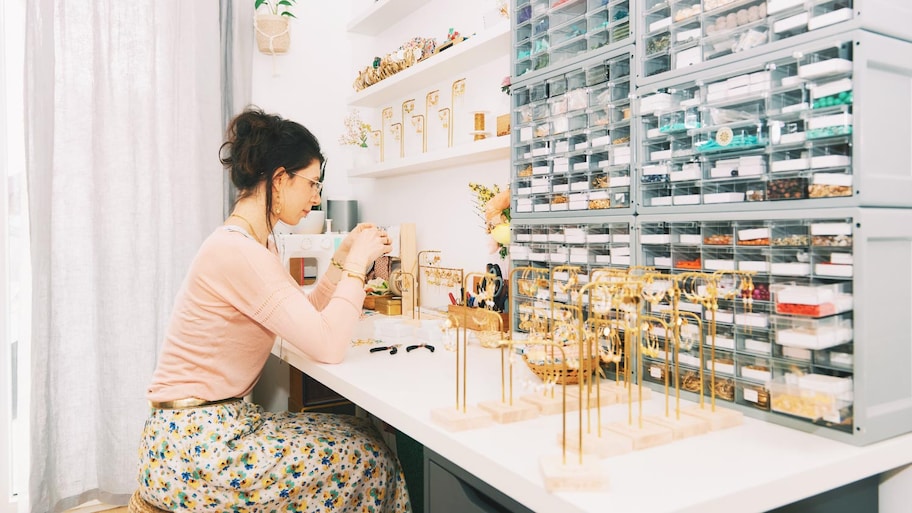
Crafting has earned its own room in many people’s homes—which is no surprise, considering online craft and hobby sales is a $15.1 billion market as of 2021. For many avid crafters, crafting is not just a way to express their artistic talent—it’s a small business endeavor as well.
Whether you work with a professional home organizer or an expert that specializes in closets, the pros will encourage you to create a designated space for your crafting. Even if your crafting table doubles as a home office during the week, it's important to start by creating space for your supplies.
This space could range from anything as small as a side file cabinet to adding custom shelves with drawers, hooks, and shelves for each individual item.
Start From Scratch
No matter what they're organizing, most professionals begin by taking inventory of everything you have. In the world of crafts, yes, that means pulling out every spool of thread, gel pen, and the 15 pairs of fabric scissors that have been hiding in 15 different places.
Seeing everything you have laid out is the best way to start the grouping process. It's also the first step to deciding how often you use different items and how easily accessible they need to be for your workflow.
And just like controlling clutter in the rest of your home, use this opportunity to toss or donate anything you know you’ll never use. Books, craft paper, and printout guides have the habit of piling up over time. If you have a digital copy, make more space by cutting down on paper piles.
Group in Themes
Group items together in themes—drawing utensils, specialty paper, glitter and small decor, thread and lanyards, etc. Arrange these items further by how much you use them. Favorite pencils earn a spot within arm's reach, while that giraffe-covered scrapbooking paper heads into a drawer.
Not only does this process make it easier to find something, but it also keeps you from accidentally buying something you already have during your next trip to the craft store. Before making your shopping list, you can inventory what your current stock is in less time.
Think About Workflow
Organization and easy workflow go hand in hand. Sure, your workstation may still look like a hurricane came through by the end of the day, but that's just the creative process. When you get in the artistic zone, you won't want to spend an extra second searching for that missing watercolor pencil.
With your items grouped together, consider the details. Clear containers with labels are ideal for small items, for example. As for items like yarn, ribbon, and lanyards, how often do you measure out a piece in a hurry? Would it be helpful to install the spool on a wooden rod in a closet or cabinet? Consider unique storage options depending on how you use the supply.
Every Item Has Its Place
Most importantly, your organization system should be easy to maintain. Always opt for function over beauty, especially when you're working with so many small odds and ends that can be difficult to clean up. If your glitter containers are impossible to open, you're less likely to get everything back in the right jar at the end of the day.
That being said, once you find the right system for your style, make sure everything has a clearly marked space. If little crafting hands come to work at your space as well, this will also help them reset the space when they're done.
Leave Room for Your Work
It's very easy to get carried away with organizational bins, boxes, jars, and jugs. Remember to leave an open, clearable space for actually doing the crafting itself. Better organization should create more room to actually create. When you see the clear desk sitting open in your craft room, it should call your name to start constructing.
Whenever possible, create a workspace separate from your organization area, such as an easel or drafting table. Bring what you need to your station while keeping storage within reach. Pegboards, chalkboards, and whiteboards are also great ways to organize your thoughts, display your work, and keep shopping lists.
Decide on a Cleanup System
Maintaining long-term organization comes down to creating new habits. Get acquainted with your new setup by building a routine at the end of each craft session. If you have an ongoing project that you'll come back to tomorrow, keep temporary storage space for those supplies until you wrap up the work.
Find the Right Pro for You
Working with a professional organizer might feel a bit personal at first. Remember, they've seen it all—from complicated organization habits to balls of pom-poms mixing with the hot glue sticks. Find a local professional that understands your unique habits and artistic process.
As for the price, professional organizers typically charge between $55 and $100 an hour, or an average of $480 for a flat-rate project. The value of this work is a new space that excites, inspires, and elevates your next never-been-seen crafting concept.