Only buy supplies if you’re comfortable with advanced-level DIY.
Need professional help with your project?
Get quotes from top-rated pros.
What you'll need:
TOOLS
Reciprocating saw
Measuring tape
Drill
Circular saw attachment for drill
Paint brush
Screwdriver
SUPPLIES
Safety goggles
Wood screws
Return vent(s)
Duct material
Corner pieces
Duct takeoff
Duct sealant
Return air vent cover
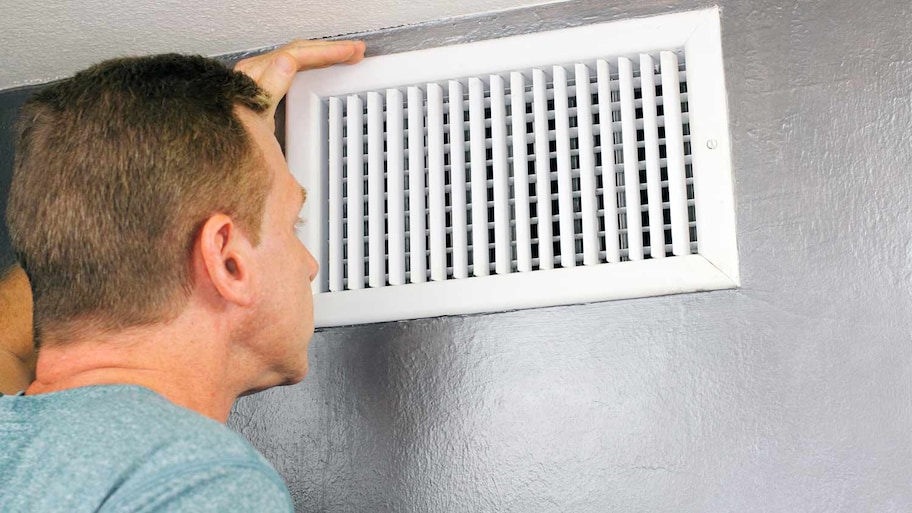
Forced air HVAC systems push air through ducts to supply vents, which blow air into a home's various rooms. At the same time, air travels back to the HVAC system through return vents. You need an adequate number of return air vents for your system to work properly, and some older systems only have a single return vent. You can learn how to install a return air vent in a wall, but keep in mind that it can be a complex project and may be best left to the pros.
Prepping to Install a Return Air Vent in a Wall
Photo: Serenethos / Adobe Stock
Installing a return air vent can take one of two forms. In some cases, your home may already have return air vents in place and you may simply need to replace them due to damage or because they don't match your style.
In the second scenario, your home has an older forced air system and it has a single return air vent, usually located on the first floor. A single return vent isn't the most efficient option and may cause your system to work harder than it needs to. If that's the case, you'll need to install a new return vent and ductwork to connect the new vent to the rest of the return system.
Find the Return Ducts (If Applicable)
If you're installing new ductwork, you'll need to connect the return vent to your existing system. The first step is to find the return ducts. If you're only replacing an existing air vent, you can skip to step 5.
Installing ductwork is a much bigger job than swapping out a return vent cover, so be sure you know what you're getting into before you begin. You'll also need to identify the correct ducts before you start. Some ducts pull air from the HVAC system while others return air to the system. You want to connect to the ducts that return air to your system.
Since ductwork installation usually needs to follow building codes, it's always a good idea to check in with a local duct installer before beginning work. A ductwork technician can help you understand the local requirements and provide professional guidance. Depending on your location, you may also need to get a permit from your municipality before you begin duct installation.
Choose the Location for the Return Vent and Cut the Hole
Decide where in the room you will place the return air vent. Typically, you'll want to place the vent on an interior wall, in line with the existing air return ducts. Whether you put the vent on the wall itself or the floor is up to you. If on the wall, the vent can be near the ceiling or lower down.
Once you've chosen the right location, cut out a hole in the drywall for the vent using the reciprocating saw. Use a pencil to mark the edges of the vent's opening on the wall, and measure to ensure the traced area is the right size before you start cutting.
Keep in mind that you want the vent opening to be the size of the vent, not the size of the cover. The lip of the return vent cover should rest against the wall. If you cut the hole too large, it won't stay in place.
Install the Return Air Ducts
Now for the tricky part: Installing the ductwork. Remove any insulation or other obstacles from inside the wall. Remember to consult a local duct installer and ensure that you follow code when installing the new ductwork.
If the ductwork needs to bend around a corner, use corner pieces to make the transition flow smoothly.
Connect the Return Ducts to Existing Return Ductwork
After installing the new ductwork, connect it to the existing return duct. Cut a hole in the existing return duct to fit in the attachment, known as a duct takeoff. The takeoff is a connecting piece that joins the existing and new ductwork.
Use a circle saw attachment on a power drill to cut the hole for the takeoff. Then, slip the end of the takeoff into the hole. The end should have little tabs around the perimeter. To secure the takeoff into place, push the tabs up, so they are flat against the interior wall of the existing ductwork. Paint a layer of duct sealant around the connection area to securely attach the takeoff to the existing duct.
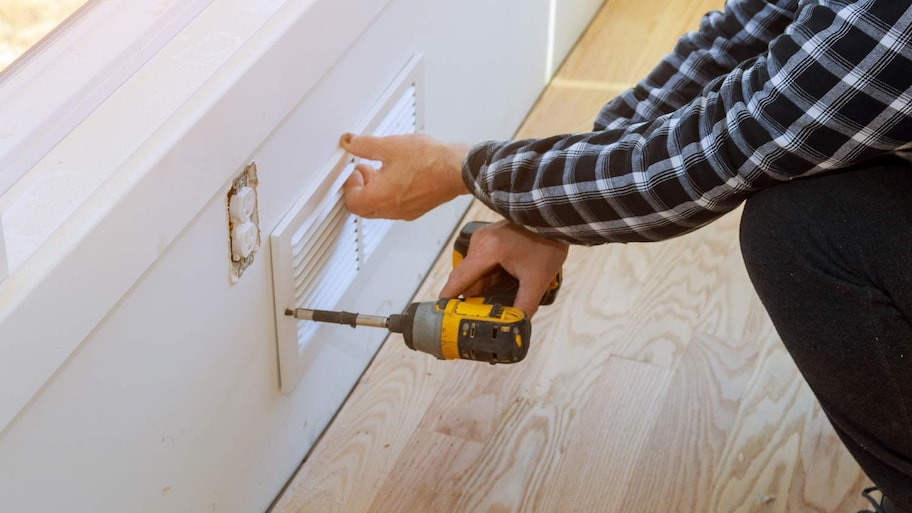
Install the Return Air Vent Cover
Photo: ungvar / Adobe Stock
Go back to the room where you cut the hole for the return vent and place the vent cover over the opening, lining it up so that it fully covers the holes. Use wood screws and a screwdriver to secure the vent cover to the wall.
DIY vs. Hiring a Pro
There are a few factors to consider when deciding whether to DIY return vent installation or hire a pro. The first is the complexity of the project. If all you're doing is swapping out an old return vent cover for a new one, then it's a simple enough DIY.
But if your home's heating and cooling system is ancient and you don't have an adequate number of return vents in your house, hiring a pro is the better way to go. The ductwork in your home affects more the temperature. It also affects your home's energy usage, humidity levels, and whether your home is up-to-code or not.
Most states require ductwork installers to be licensed, because a bad duct installation job can be a headache for a homeowner. Duct installers need training and experience to do the job well. Going with a pro when ductwork is involved will give you peace of mind that your HVAC system can function at its best and that your home is up-to-code.
FAQs
The best time to add return vents is during the initial ductwork and HVAC system installation. However, in some cases, that's not possible, especially in older homes. If you're upgrading your HVAC system, that's usually a good time to install more return vents. You may also add more vents if your system is older and only has a single return.
The cost of adding a return vent varies from $200 to $500 per vent, depending on how close the vent is to the existing ductwork. You'll need to pay more if the vent is far from the ductwork, as you'll need to install more materials. The type of duct material you use and the return cover material and design also affect the total cost.
Return air vents shouldn't be installed in bathrooms, kitchens, closets, garages, or mechanical rooms, according to the International Code Council, with few exceptions. If you're not sure if you should put a return vent into a room, talk to a professional duct installer. They can give you the advice you need to keep your system up to code.
Amy is a content writer specializing in home improvement and personal finance topics. She loves helping people tackle DIY projects that beautify their spaces. Her work can also be found on Money Crashers and Coldwell Banker where she combines home improvement and money saving tips.
Amy is a content writer specializing in home improvement and personal finance topics. She loves helping people tackle DIY projects that beautify their spaces. Her work can also be found on Money Crashers and Coldwell Banker where she combines home improvement and money saving tips.
The homeowners guide to Heating and Air Conditioning
From average costs to expert advice, get all the answers you need to get your job done.