Wix Pricing Plans POS: Selling Plans at a Mobile Point of Sale
3 min read
Important:
- This article is about Wix Mobile POS for mobile phones.
- For info on Wix Retail POS for brick and mortar stores, click here.
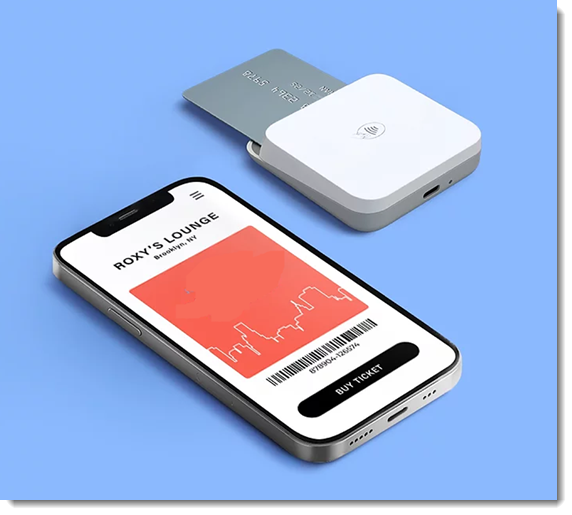
Use your phone as a point of sale (POS) so your clients can pay for their pricing plans no matter where you are. Using the Wix App, you can add clients to plans and accept payments quickly.

Note:
You can only sell plans that have a one-time payment at a point of sale, not plans with recurring payments.
Step 1 | Set up your account and payment settings
To use your mobile device as a Wix Mobile POS, you need to download the Wix app, set up your Wix Payments account, and order a card reader.
Step 2 | Sell Pricing Plans using the Wix app
Now you can start using your phone as a point of sale, wherever you are. This is great for adding new members to your plans at roadshows, exhibitions and other events.
To sell your Pricing Plans using the Wix App:
- Go to your site in the Wix app.
- Tap Manage
 at the bottom.
 - Tap Pricing Plans under Catalog.
- Tap the More Actions icon
 at the top.
 - Tap Sell a pricing plan.
- Add a client to the sale using one of the following options:
- Select an existing contact.
- Tap + Add new contact to create a new one.
- Enter the relevant contact information.
- (Optional) Select the checkbox at the bottom to invite the person to join your site.
- Tap Save.
- Select the relevant plan.
Note: You can only sell plans with a one-time payment at a point of sale. - Tap Next.
- Tap Collect Payment.
- Choose what you want to do:
Accept payment through Wix Mobile POS & Wix Payments
Manually enter credit card details
FAQs
Click a question below to learn more about using mobile POS for Pricing Plans.
Who is this service available to?
What payment method do I need to connect?
Are there limitations to what I can do on the mobile POS?
Did this help?
|