How To
Resident Evil 2 “1-Shot” Demo Guide and Walkthrough

- January 17, 2019
- Updated: March 7, 2024 at 5:35 PM
The release of Resident Evil 2 is almost upon us, and Capcom has just released an official demo that has fans salivating like the game’s zombie hordes. The so-called “1-Shot” demo puts players in the shoes of rookie cop Leon Kennedy during the game’s opening moments, just as he arrives at the overrun Raccoon City Police Department. Here’s the catch: this “1-Shot” demo has a strict 30-minute time limit. Once your half-hour is up, the demo will end, regardless of where you are in the game. No do-overs, no replays. We’ve put together our own walkthrough to make sure you get the most out of your “1-Shot” playthrough.
As a general note, the demo timer only runs during cutscenes and gameplay. You can spend as much time as you like looking at maps and menus.
Resident Evil 2 “1-Shot” Demo Guide and Walkthrough
Part 1: Main Hall/East Wing
The demo opens with Leon entering the main hall of the Raccoon City Police Department. It’s sure to be a nostalgic moment for veteran Resident Evil gamers, as the room is pretty much a note-perfect rebuild from the original game.
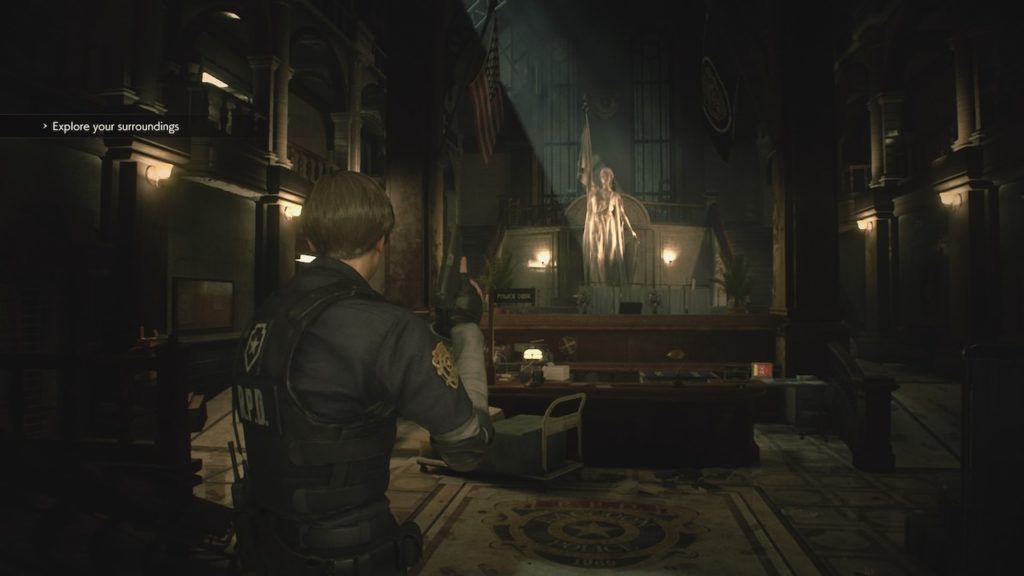
Head forward to the main reception desk, and you’ll find a familiar looking (but unusable) typewriter, and an old desktop computer. Interact with the computer, and you’ll trigger a short cutscene. You’ll see an officer fending off waves of zombies, imploring you to find him in the East Wing so he can pass on some important info.
Flip back around the way you came, and you should see a shuttered metal door with a scrawled “Keep Out” sign taped to it. Looks like you’ll have to break the rules.

Head over to the door and flip the switch located on the left-hand side. The door will open, but only partially, forcing Leon to crawl through the gap. On the other side of the door is a maze of dark hallways. It’s creepy, to be sure, but if you’re courageous and can spare the time, you can investigate the side rooms here to nab a few items. You can find more Handgun Ammo in the Press Room, and a First Aid Spray in one of the bathrooms.

After making your way to the end of this winding series of corridors, you should come across the Night Watchman’s Office. You’ll know you’re close when you start to hear the cop you saw onscreen earlier crying out for help. Head into the Night Watchman’s office and look for the metal shutter in back. Pry it open, and you’ll watch a short cutscene. The cop, unfortunately, doesn’t quite make it.

Before his untimely and rather gruesome demise, the cop will pass you a small notebook. Examining the sketches inside will reveal a map to a hidden tunnel that should allow you to escape the station. Before you can get to the tunnel, though, you’ll need to find a few keys to make your way there. Unfortunately, there’s no time to puzzle out your next moves. Things are about to get hairy.
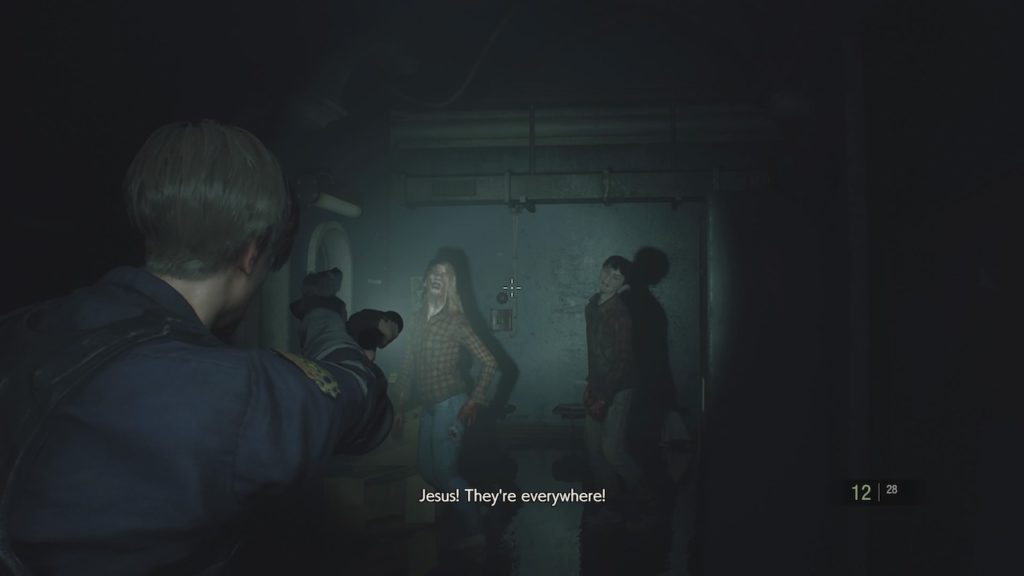
Zombies will burst through the door of the office. You’ll have to use your handgun to blow away the first zombie, as he’ll literally be blocking your way out. Aim for headshots; zombies in this game take a fair bit to go down, but a headshot will stagger them at the very least. Once you have an opening, sprint past the first zombie and out into the hall.
Things aren’t looking great out here either, as zombies start reviving left and right. Though tempting, you don’t have time to take them all out. Sprint past them and back towards the Main Hall. Towards the end of the corridors, a cop zombie will burst out of a previously locked closet. If you can, slip past him and grab the Planks hidden inside. They’ll come in handy later. It’ll be a tense gauntlet, and Leon will slide back under the shutter with not a moment to spare.

Back in the Main Hall, you’ll meet another survivor, who introduces himself as Officer Marvin Branagh. Like you, he was caught up in the outbreak, but was unfortunately seriously injured in the process. He agrees to help you, offering some advice and then giving you his Combat Knife.
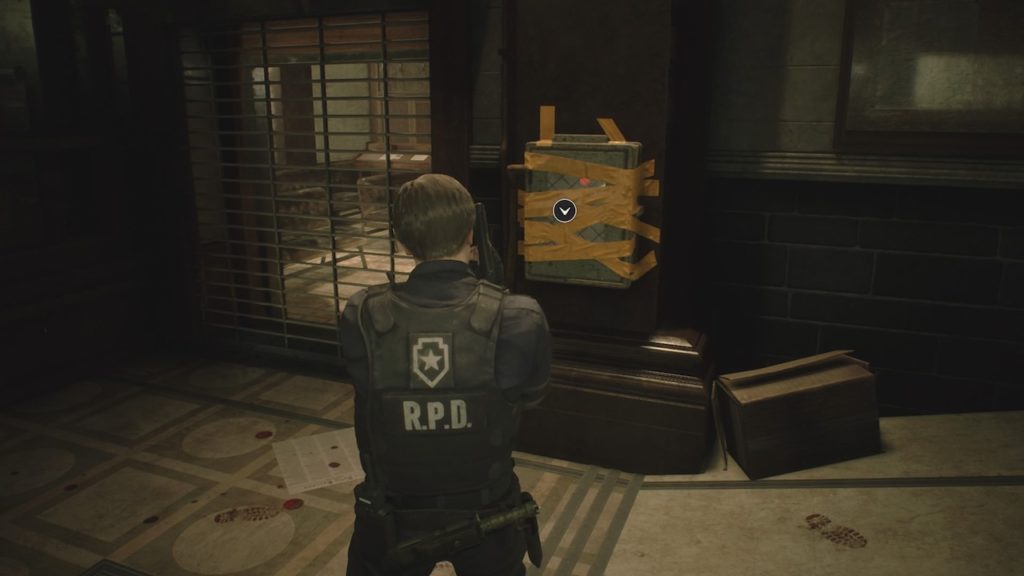
With the knife in hand, head over to the western side of the hall. You should see another security shutter and a control box that’s been wrapped shut with yellow electric tape. You can use your knife to cut through the tape and open the box. Flip the switch and the shutter will open, giving you access to the West Wing.
Part 2: West Wing
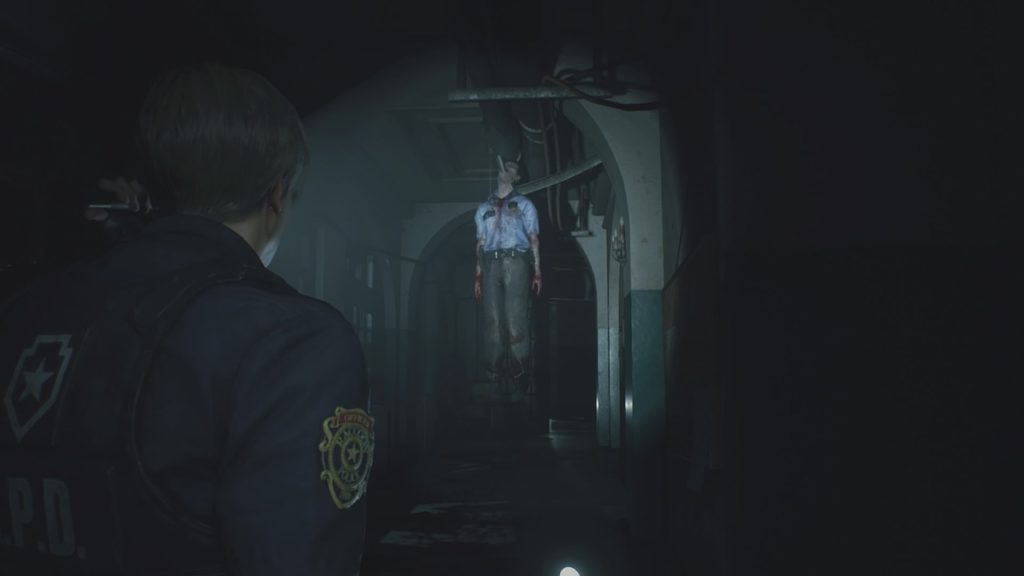
Head through the first waiting room area and you’ll enter a long, dark hallway. At the end you’ll be able to just barely see the corpses of a few officers, and you’ll hear the sound of their crackling radios. As you approach the first officer, you’ll trigger a short cutscene where you answer his radio… and reveal his grisly fate.

Continuing on down the corridor, you’ll eventually hit a window where a zombie is trying to break in. If you grabbed those boards earlier, you can use them now to barricade this window. Otherwise, the zombie will break through and you’ll need to deal with it. After that’s taken care of, hook right and right again and you should see the door to the Operations Room.

Directly in front of you should be a desk with a Weapons Locker Keycard sitting on it. Grab this, then navigate towards the back of the room near the fallen American flag. There are a few other supply items in the room if you want to take the time to search it. Notably, the 1F Map is taped to the chalkboard here.
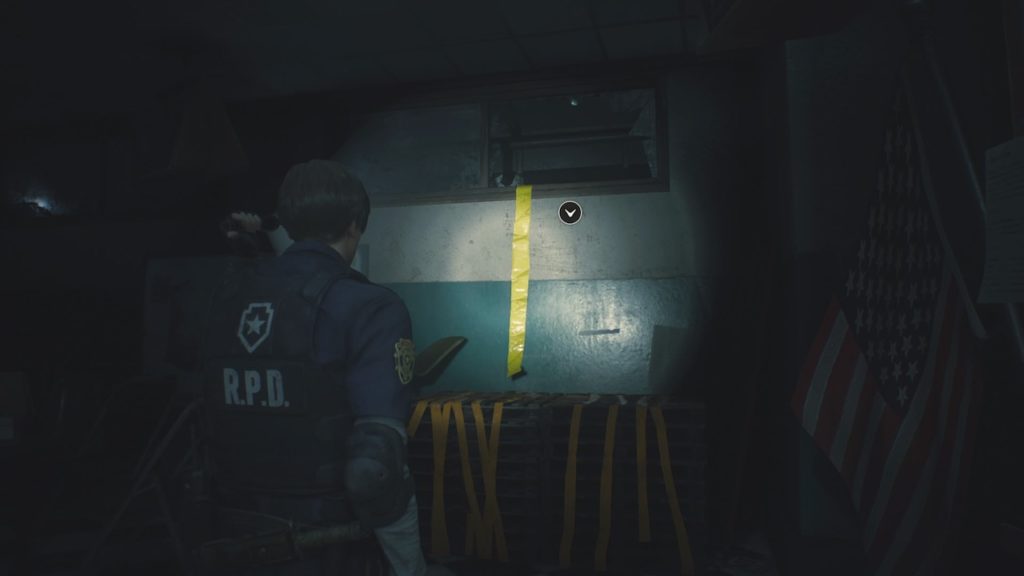
At the rear of the room, you’ll be able to see this broken window, marked by yellow caution tape. You’ll need to climb over the boxes and through the window to move on. As you make your way into the West Wing, you’ll come across a zombie cop banging on a vending machine. It’s your choice whether to take him out or sneak past, but if you hook left you’ll come upon the evidence room.
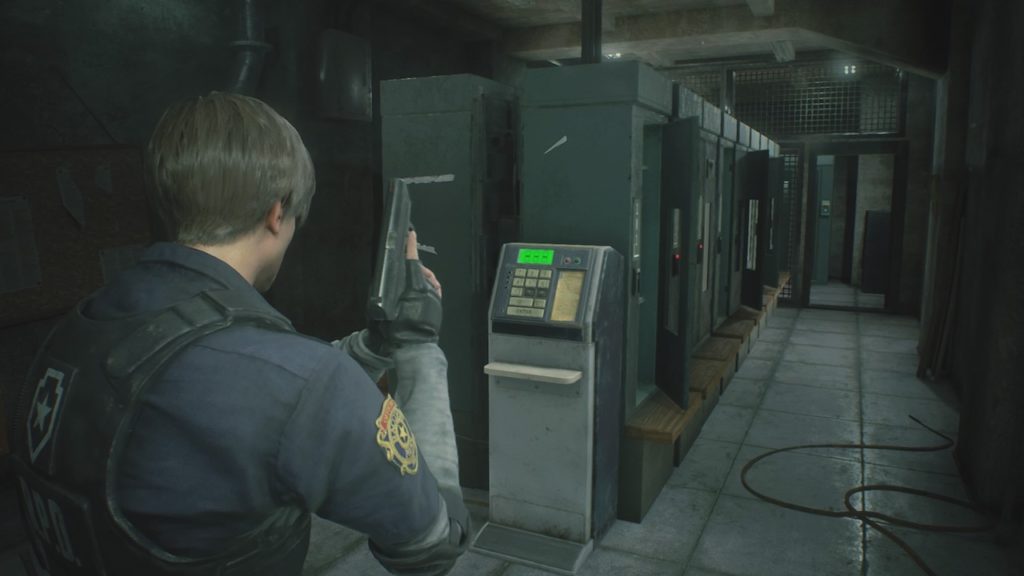
At the front of the room, you’ll see a keyboard. Most of the lockers are empty or unable to be opened due to missing keys, but entering 109 will open a locker containing more Handgun Ammo. Snag it, then head to the rear of the room to find the Weapons Locker. Use your keycard, and then grab your shiny new Shotgun.

Fortunately, you won’t have to wait long to try out your new gun. Zombies will come bursting into the evidence room. Again, aim for headshots, but between your handgun and newly acquired shotgun you should be able to make short work of them.

Head out of the Evidence Room and go left to come upon a staircase leading up into the rest of the station. You’ll run into a few zombies here, so be prepared. In the interest of time, you’ll want to skip the second floor for now as it contains nothing crucial to finishing the demo. Instead, head all the way up to floor 3.

On the top floor you should see a broken wall leading inside an office. Head inside and grab the Blue Spade Key off the desk there. Now you’re ready to head back towards the Main Hall.
Part 3: Library/Main Hall
From the desk where you found the key, head left through the door and into another hallway. You’ll want to head straight through the hall and then left again, and you should see a door on your left next to a small tipped over bookshelf. This will take you into the Exhibit Room, where you’ll be looking for another small door between two of the shelves. Head through the door and into the library.

Entering the library, you’ll get a message from Marvin on your radio, asking you to return to the Main Hall. The quickest way there is to continue the way you’re heading, through the library. Head down the ladder to the bottom floor, where you’ll encounter a group of three zombies. You can opt to run past them or quickly kill them, then use your Spade Key to unlock the exit door and head back into the Main Hall.

Once there, the demo will officially conclude and you’ll be treated to a short cutscene, as well as a demo-exclusive trailer revealing the return of some previously unrevealed fan favorite characters.
That concludes our walkthrough of the Resident Evil 2 “1-Shot” demo. Check back with Softonic for tons more Resident Evil 2 content when the game releases on January 25!
Alex's first experience with video games came at the tender young age of 12, when his parents gave him and his brothers a PlayStation 2 for Christmas. They’ve probably been regretting that mistake ever since, because as soon he finished his first lap in Gran Turismo 3, Alex was hooked for life. In addition to writing for Softonic, Alex has turned that love of games into a voice acting career, and has voiced everything from grizzled old soldiers to vampire lords. When he's not gaming or getting behind the microphone, Alex can probably be found wandering the woods around Boston or putting together some new culinary delight in his kitchen.
Latest from Alex LaFreniere
You may also like

Graphic Design Trends 2025: Retro Pixel Art and How to Create It with the Help of Adobe
Read more

Yes, we can measure a person just by taking a photo of them
Read more

Final Fantasy VII Rebirth has performed well, but now at Square they only trust in multiplatforms
Read more

Originally, Kingdom Hearts was so difficult that at Square they compared it to a Takeshi Kitano game
Read more

You didn't know it, but the world of chess just suffered because of some cowboys
Read more

WhatsApp collaborates with Google so you can find out the origin of any image sent to you
Read more