Shaving Cream Art: Tips and Suggestions
When you’re looking for a fun and unique way to spend time with your child, a little arts and crafts is always a great go-to option. The world of arts and crafts is one that’s filled with enriching and enjoyable activities, all of which are excellent ways to have a great time and stimulate your child’s imagination. The options are practically endless—and you may feel like you’ve tried them all—but there’s always a new arts and craft idea just waiting to be explored.
For instance, have you ever thought about shaving cream art? With some foam shaving cream and a few extra supplies, you and your kid can have a day brimming with discovery, entertainment, and bonding.
There’s a handful of different ways to implement shaving cream into your arts and crafts repertoire—whether you use the shaving cream as a medium itself, or whether you use it as an ingredient for homemade paints—but whatever path you take, you’re guaranteed to have some inspiring fun.
Shaving cream marbling
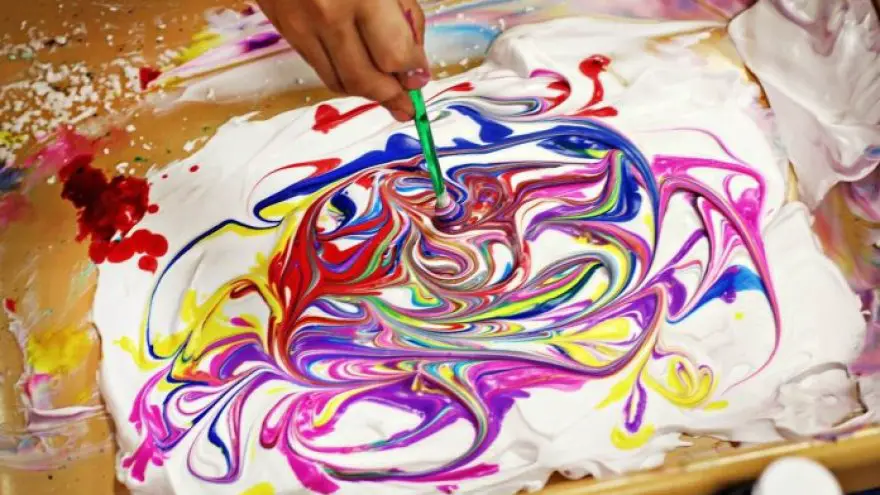
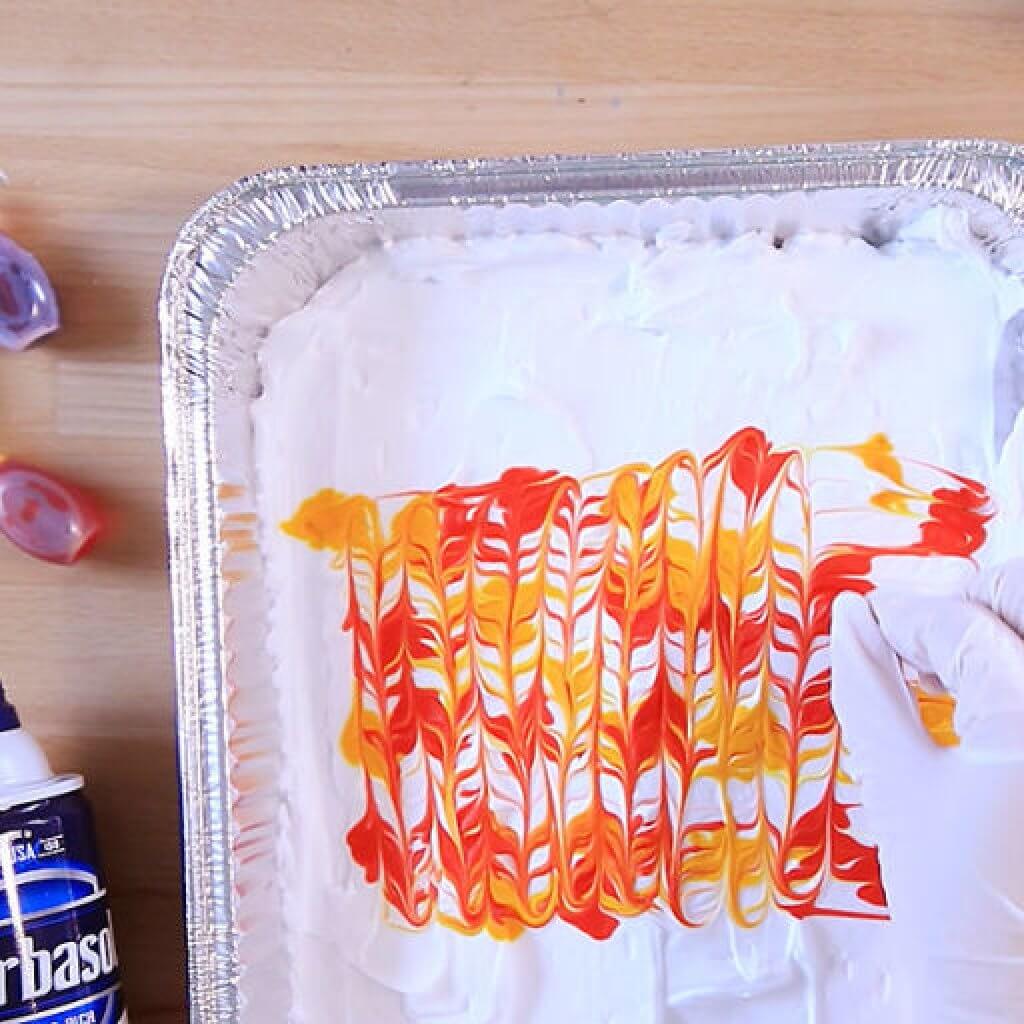
Painting using shaving cream to create marbled prints is probably the most popular form of shaving cream art. It’s super simple, and only a small amount of supplies is needed to create these fun-filled works of swirling beauty. While the list of supplies is small, there’s several variations you can make use of, but every option is easy to work with.
Supplies
- Foam shaving cream
- A tray or shallow container such as pie pan or baking sheet
- Liquid watercolors or food coloring (if you want to go with both that’s no problem)
- Watercolor paper or cardboard stock
- Plastic droppers
- A tool used for scraping such as a ruler or squeegee
The process for making the prints themselves is a smooth one. You’re going to want to spray the shaving cream into the container, and then spread the shaving cream to create a thick layer. You can smooth out the shaving cream using any kind of tool you’d like, but your kid will probably just want to dive in and use her hands.
Once you’ve got your shaving cream canvas prepared, go ahead and put drops of the food coloring or liquid watercolors into the container, it’s time to mix everything together. If you want to use some kind of stirring tool that’s perfectly fine, but again, your kid will probably want to use her hands to get the job done. The more you swirl the colors, the more marbled the print will look.
You’ll then gently press your watercolor paper or piece of cardboard onto the surface. Once you lift the paper off the surface, you’ll softly scrape the paper with whatever scraping tool you use to take of the layer of extra shaving cream. From there, all you have to do is let the paper or cardboard dry.
Given the amount of shaving cream you have on your baking sheet, you can continue to make as many prints as you want; just keep adding food coloring or watercolor paint to the creamy canvas and you can have fun for hours on end.
Foam dough
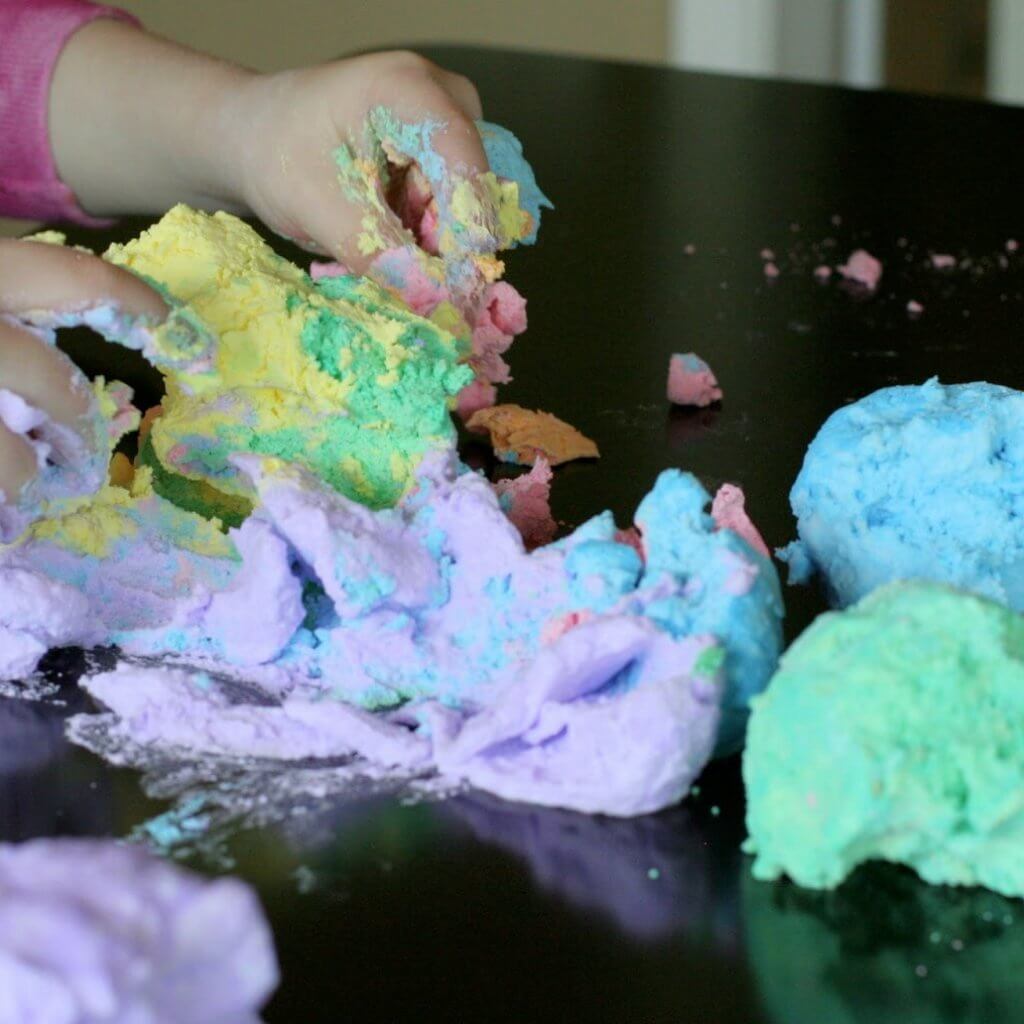
This option really is in the sculpting realm rather than the world of painting. It’s a pretty messy option, but it’s totally worth it. The list of supplies is short, but minimal supplies in no way translates to minimal fun and stimulating creativity.
Supplies:
- Shaving cream
- Food coloring or liquid watercolors
- A bowl or tub for mixing purposes
- Cornstarch
You’re going to start out by spraying your shaving cream into your bowl, and then go ahead and color to the shaving cream using liquid watercolors or food coloring.
Next, add some cornstarch. Make sure you have a one-to-one ratio of cornstarch and shaving cream. The cornstarch is what creates the foamy and doughy texture.
It should be noted that the more cornstarch you use, the drier the foam dough will be. Many parents like to keep the dough a little wet because it creates a fluffier texture.
With the dough, you can let your child create any sort of shape she can come up with, but you’re most likely going to get a variety of shapes that end up looking like clouds. What’s great about this particular activity (like much shaving cream art) is the tactility. Your child is going to have a great time working with her hands and making a bit of a mess, all while creating various color combinations and enjoying the texture.
Use your windows as a canvas
This one is without a doubt the simplest of approaches. All you have to do is pick a window, smear on some shaving cream, and let your kid have at it. This is basically finger painting without the paint. Your child will absolutely love the tactility of the method, and she’ll get to depict whatever scene, picture, or plethora or shapes her little heart desires.
To keep the mess to a minimum, you’ll want to have a towel by your side so that your kid can wipe her hands throughout her project.
Shaving cream drip art
Supplies:
- Shaving cream
- Cardboard stock
- Liquid watercolors
- Plastic droppers
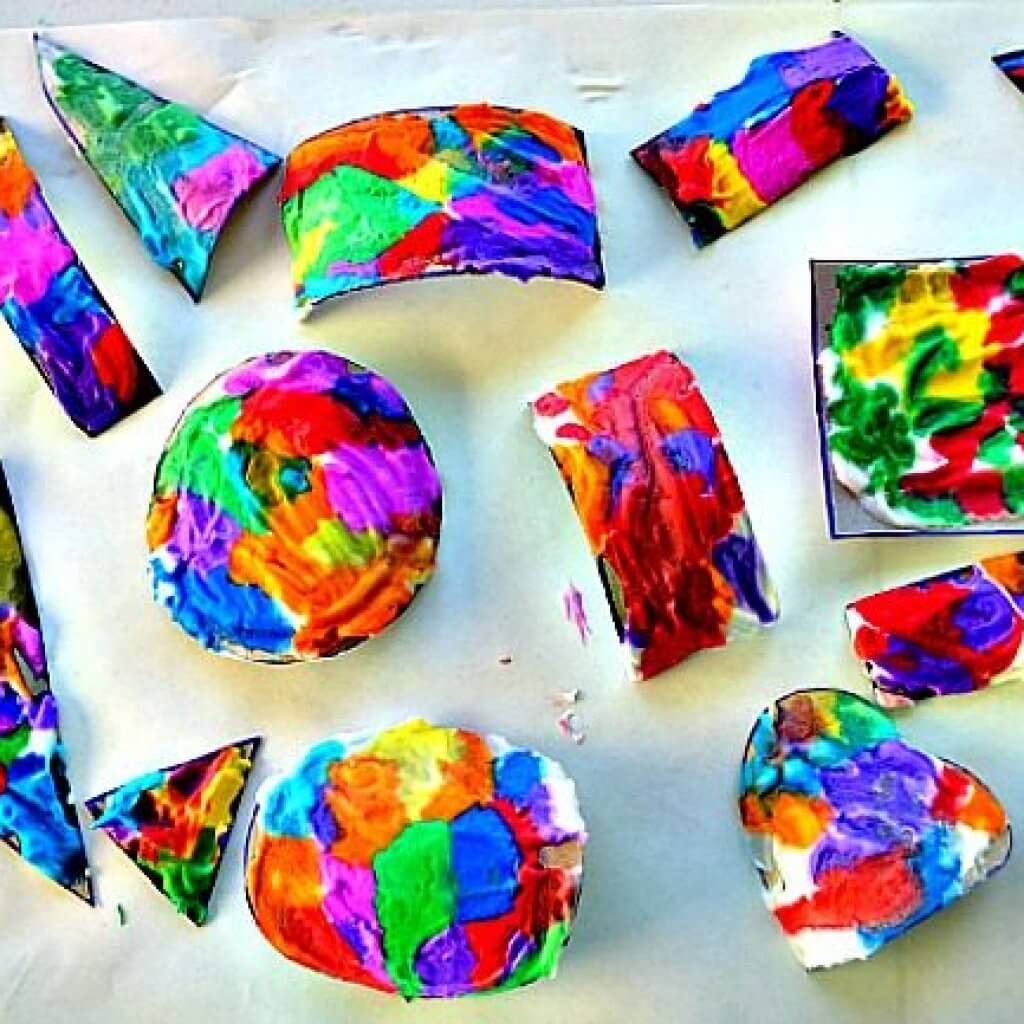
The unique thing about shaving cream drip art is that you and your kid create the shapes before you add all the colors. You can make abstract shapes, or ones that are more realistic depictions of trees, hearts, animals, buildings, clouds, vehicles, letters, people or characters—the list goes on and on.
You’ll begin by cutting out various shapes from pieces of cardboard. Once you have the desired shape, spray the shaving cream and gently smear it on top of the cardboard cutouts. Next, just simply drop the liquid watercolors on top and let the pieces dry.
Given the amount of shapes you can create, you and your kid can make up all sorts of interesting scenarios, or simply just spell out names or funny phrases. Think about if your kid were drawing or painting a picture: you can use the cutout pieces to depict something similar that you might make in a drawing or painting—so going with shaving cream drip art can be seen as an interesting take on painting or drawing a specific scene.
You can even look at shaving cream drip art as a way to create action figures of sorts—giving your child the opportunity to dream up any magical story she’d like while she uses the figures to act out the scenario.
Make your own homemade types of paint
Not only is shaving cream an excellent artistic medium, but it also makes for a great ingredient for making homemade paints that are safe and kid friendly.
Puffy paint
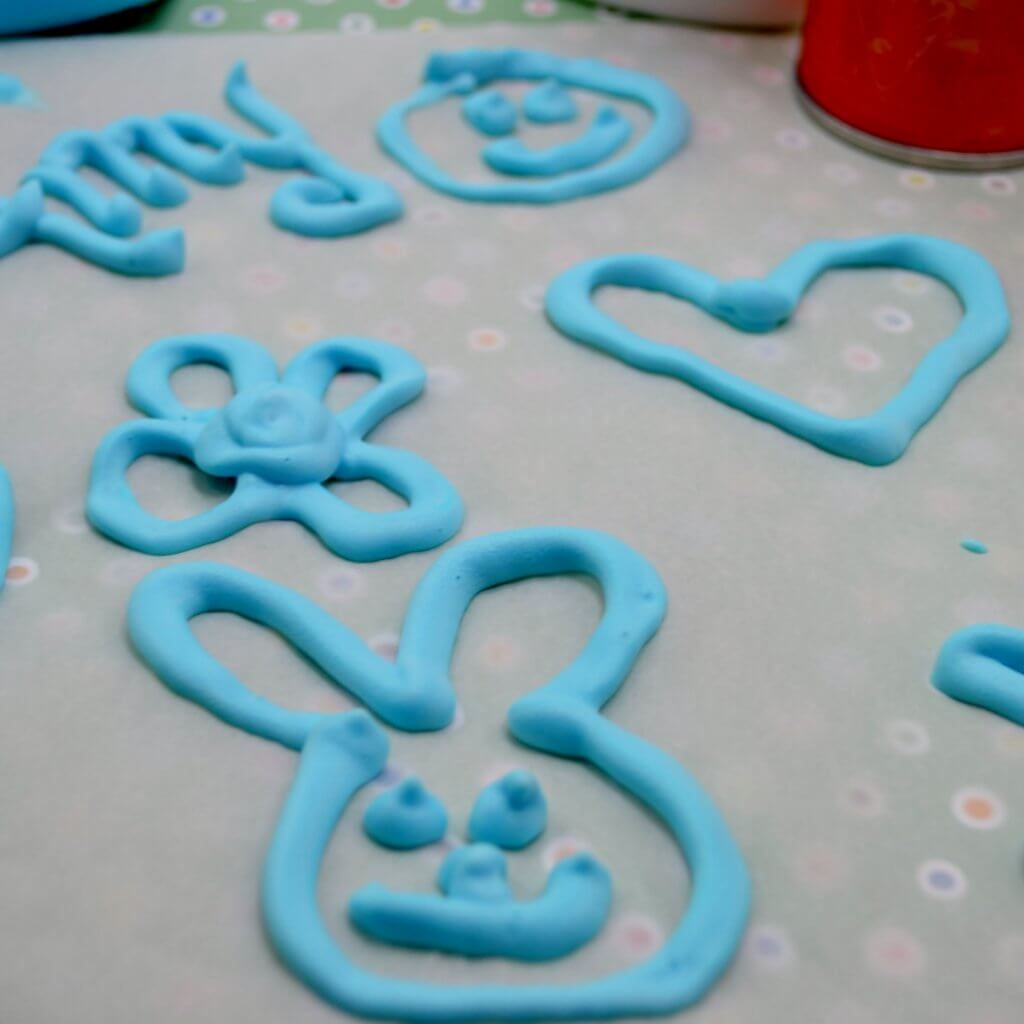
The recipe for making your very own puffy paint is simple. You’ll need ¾ cup of shaving cream, ¼ cup of white glue, ¼ cup of flour, and some food coloring. You just thoroughly mix everything together, and you have your puffy paint. You should put the paint into a squeeze bottle; it makes for minimal mess and also keeps the puffy look intact.
Puffy paint is great for making designs or pictures that have a bit more of a raised texture.
Use a black light and fluorescent paint for a little extra glow
Another really neat way to approach shaving cream art is throwing a black light and some fluorescent paint into the mix. All you have to do is blend some shaving cream with fluorescent paint, grab a black light, turn out the lights, and you have shaving cream paint that glows in the dark.
You can just have your kid smear the paint around on a table to create a variety of shapes. She’ll have fun playing with the shaving cream, and the glowing effect will just make the already creative process more aesthetically pleasing. Making use of black light simply adds another unique layer to the already unique form of shaving cream art.
Bathtub paint
The bathtub is also a great place to create fun works of art. Given the fact that the bathtub is essentially a place that you sit in, using a bathtub as a canvas makes for a more immersive experience. The best part about bathtub paint is the easy cleanup; your kid is already in the place where she gets clean, and the shaving cream makes it so that there isn’t any sticky staining.
All you’ll need is shaving cream, paint or food coloring, and some dish soap. The dish soap is optional but it’s going to make the cleanup process all the more easy. You’ll just mix everything together in a bowl (you’ll want more shaving cream then paint) and then you’re all set for a creative and exploratory experience.
Let your kid go crazy in the bathtub as her imagination lets loose and she paints the inside walls of the tub. You can use either paint brushes or fingers, but chances are your kid is going to want to go the finger painting route. The whole experiment takes place in the tub, so that makes cleanup super simple.
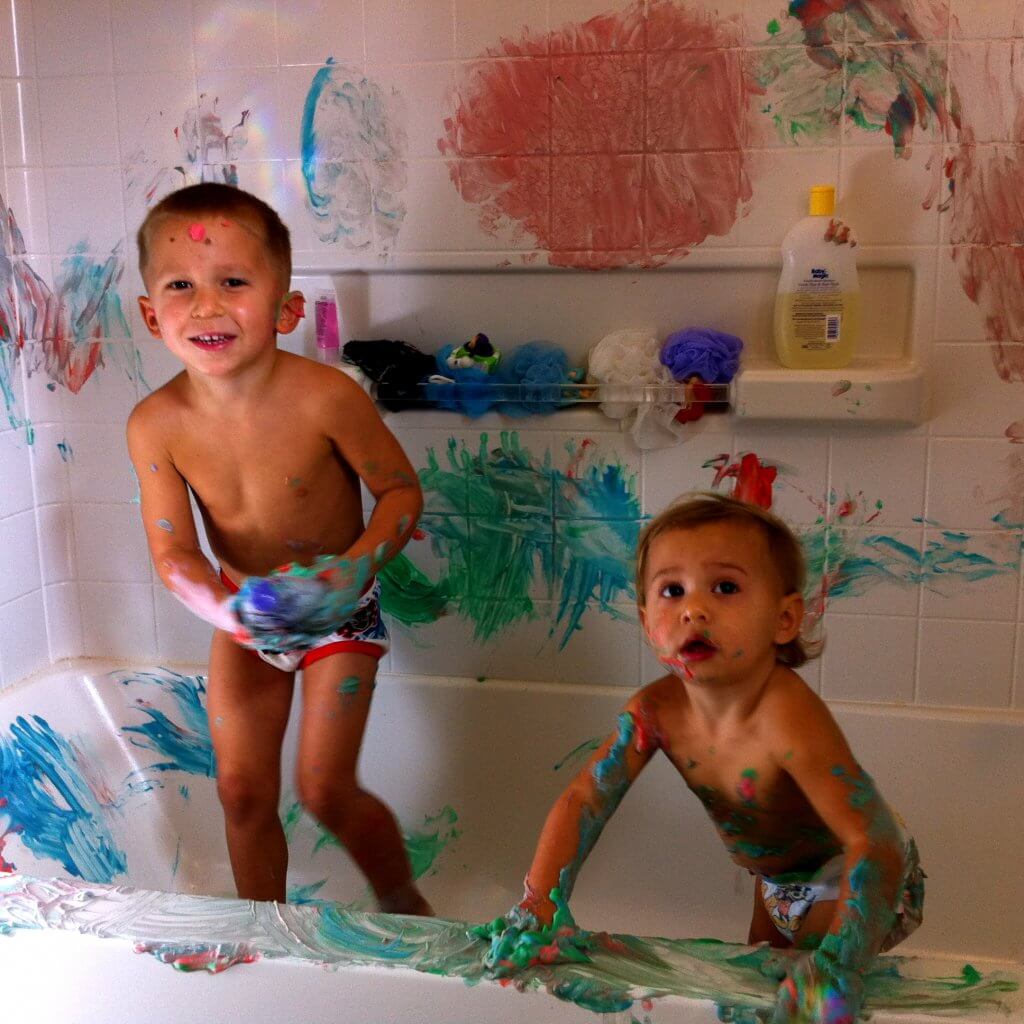
Shaving cream art is just so much for so many reasons. As you know, kids love to both make a mess and get creative. Using shaving cream as a tool for exploring your kid’s creative side gives her the chance to discover herself through art, and also enjoy the tactile experience of the shaving cream.
Even though your kid’s bound to make mess, shaving cream is incredibly easy to clean up—which means you and your kids can still have a blast and you don’t have to fret about the mess.


