How to Fix Cracks in Concrete
Don’t let cracks make you feel like cracking up


Concrete is incredibly durable and long-lasting. Unfortunately, it also cracks over time, even while remaining structurally sound in many cases. And while smaller cracks are easier to repair than larger ones, you can repair both within the capabilities of a handy homeowner with a bit of concrete background. Here’s how to repair concrete cracks, big and small.
Why Do I Have Cracks in My Concrete?
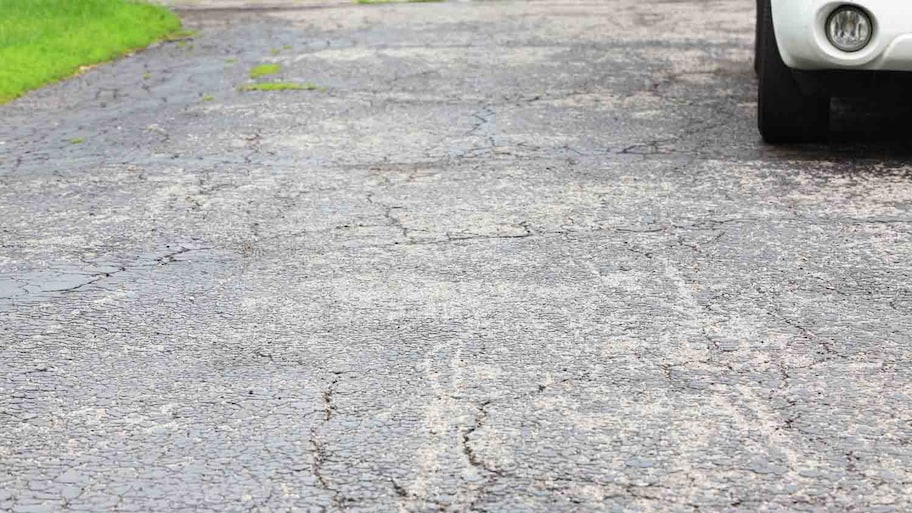
Cracks in concrete might not be pretty, but they’re very normal. They’re usually caused by tension formed by the shrinking and hardening of the material as it cures. This causes a crack to occur, and it will typically travel all the way across the surface from one edge to another.
The story changes when that crack fills with water from rain or snow and the temperatures plummet. Ice will form and expand, cracking the surface even more.
How Much Does It Cost to Repair Cracks in Concrete?
Generally speaking, repairing concrete cracks is an affordable project. Homeowners can typically purchase concrete patching compound and repair the surface of the concrete for under $30.
How to Repair Cracks in Concrete
Concrete might be an intimidating material, but repairing it is doable for most homeowners. All it requires is a bit of experience, the right tools, and the correct materials to make these unsightly cracks nearly disappear from sight. Learn how to handle concrete crack repairs of all sizes by reading below.
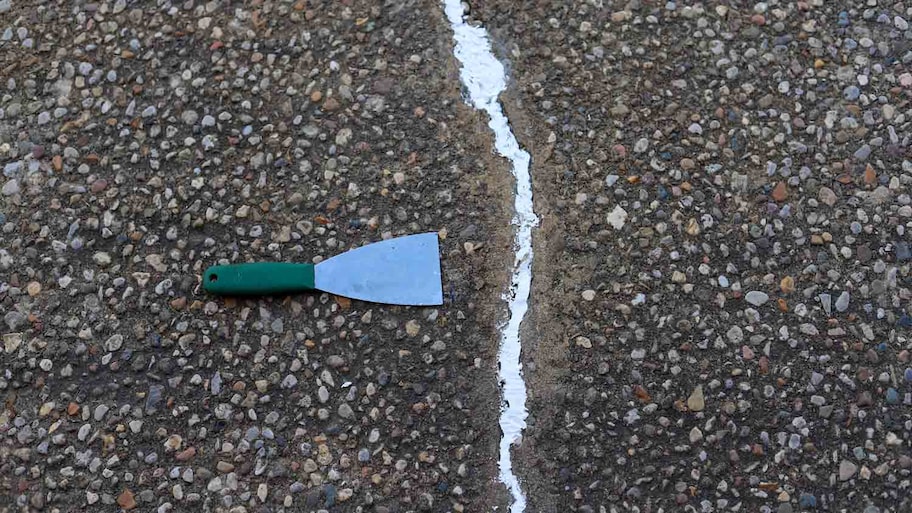
Fix Small Cracks in Concrete
Small cracks in concrete surfaces are extremely common. These cracks (3/8 inch and under) are difficult to avoid, but not difficult to repair. Here’s how to do it.
You’ll need the following:
Wire brush
Broom
Wet/dry vacuum
Utility knife
Foam backer rod
Concrete crack filler (squeeze tube or caulking tube)
Caulking gun
Putty knife
Clean out the crack completely. Use a wire brush to loosen any debris, a broom to sweep it up, and a wet/dry vacuum to clean any dust from the crack.
Cut the tip of the crack filler at a 45-degree angle with the utility knife. Start with a small hole and increase the size, if necessary. If using a caulking gun, place the caulking tube into the gun and secure it into place.
For deeper voids (over 1/2 inch), consider using a foam backer rod. This inexpensive and stable material can be stuffed into the crack and take up some of the space. This means the repair will require less compound and even cure faster. It also makes the repair more stable while it dries and is less likely to shrink.
Working from one side of the crack to the other, squeeze the crack filler into the crack, ensuring that it fills the entire void.
Use a putty knife to press the crack filler into the crack and smooth it over the surface.
Allow the filler to cure according to the manufacturer’s instructions.
Repair Large Cracks in Concrete
Large cracks in concrete take a bit more work to repair, as well as a few more tools and materials. They can occur when a small crack is ignored, the ground heaves from frost, water enters the crack and freezes, and many other causes. Despite the larger size, fixing large cracks in concrete is generally straightforward and easy to accomplish.
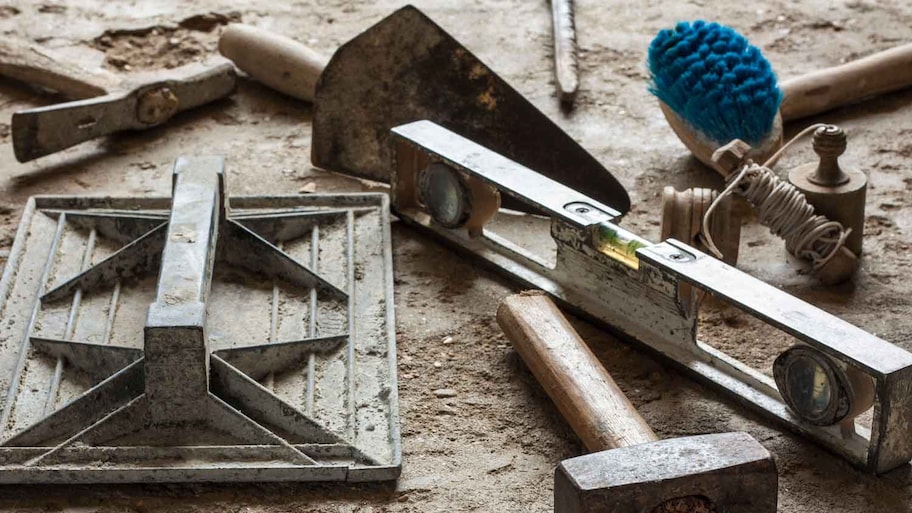
You’ll need the following:
2-lb. sledgehammer
Masonry chisel
Wire brush
Broom
Wet/dry vacuum
Concrete patching compound
Bucket
Masonry trowels
Masonry sponge
Sandpaper (80- to 100-grit)
Masonry paint
Paintbrush
Roller
Use the sledgehammer and concrete chisel to widen the crack, remove loose material, and create a V-shaped valley. This will allow the crack to accept the patching compound better and prevent air pockets and voids.
Use a wire brush to loosen any chunks of concrete or aggregate from the crack. Sweep them up with the broom and remove any loose dust with the wet/dry vacuum.
Mix the concrete patching compound according to the manufacturer’s instructions. Very often, the bucket these compounds come in is too small for proper mixing, so feel free to dump it into a bucket and mix thoroughly. Some patching compounds do not require mixing but should still be stirred for the best results.
Use a masonry trowel to apply the patching compound to the crack. Press the compound into the crack with the back of the trowel, and then poke the trowel into the crack to remove any air pockets. Continue applying patching compound to the crack until it is completely filled from one end to the other.
Using the back of the trowel, smooth the compound across the concrete surface to blend in the repair. If possible, feather the edges into the surface.
For rougher textures, dampen the masonry sponge and use it to dab the compound lightly. This should result in a roughened surface that blends in better with the surrounding concrete.
Allow the patching compound to cure according to the manufacturer’s instructions. This can take just an hour or so to a few days, depending on the product, the size of the crack, and weather conditions. Some repair compounds can shrink as they dry, particularly with large repairs. If this occurs, roughen the surface of the cured repair compound with some sandpaper and apply another coat of repair compound over top.
To blend the repair (which is often necessary with large cracks), consider painting the entire surface with masonry paint. This will help the repaired area disappear while also sealing the concrete surface against stains and other damage.
How to Prevent Concrete Cracks
Concrete cracks naturally. As the material cures and shrinks, tension is created, and that tension typically results in a crack. When it comes to new slabs, prevention is more about control. Grooving control joints into a freshly poured slab will provide an area for the cracking to occur without detracting from the look of the slab.
Sealing concrete surfaces can also prevent concrete from cracking. Unsealed concrete can absorb quite a bit of water, and in cold temperatures, that water can freeze and expand, causing cracks in the concrete. Prevent this by sealing the concrete surface every two to three years.
It’s equally as important to keep water from getting under the slab, as well. Concrete walkways at the base of gutters and other areas of the yard that don’t drain well are susceptible to the ground heaving in cold temperatures. This will often cause concrete to crack, so it’s best to redirect gutters, install drainage, and take other steps to ensure water doesn’t sit under the slab.
DIY vs. Hiring a Pro
In some cases, a homeowner might feel apprehensive about trying a concrete repair. Or maybe, they’ve performed one in the past and it didn’t go well. For these folks, contacting a local concrete resurfacing professional who can repair and resurface the concrete crack might be the best option.
These pros know how to not only repair the cracks and blend them in with the surrounding concrete surface, but they can also help homeowners learn how to prevent them from occurring in the future. Also, if there is an extensive amount of damage like chipping or sinking, it’s best to have an experienced concrete pro at the ready. Luckily, there are plenty of pros who know their way around a concrete crack, so restoring that slab should be no problem.
Frequently Asked Questions
Yes, you can fill cracks in concrete if you’re a somewhat handy homeowner. It’s important to know which concrete patching method to use, as small cracks require different approaches than large ones. It might seem challenging to determine which product to use and the tools necessary for the project, but with a bit of background, homeowners can restore their cracked concrete easily.
Yes, it is worth repairing concrete cracks. Concrete cracks are normal, and they can be hard to keep from appearing. However, it is worth repairing cracks in concrete for many reasons. For example, it’s possible to repair concrete to the point where the repair is almost invisible. Also, if the crack is left alone, it can become bigger and more expensive to fix over time.