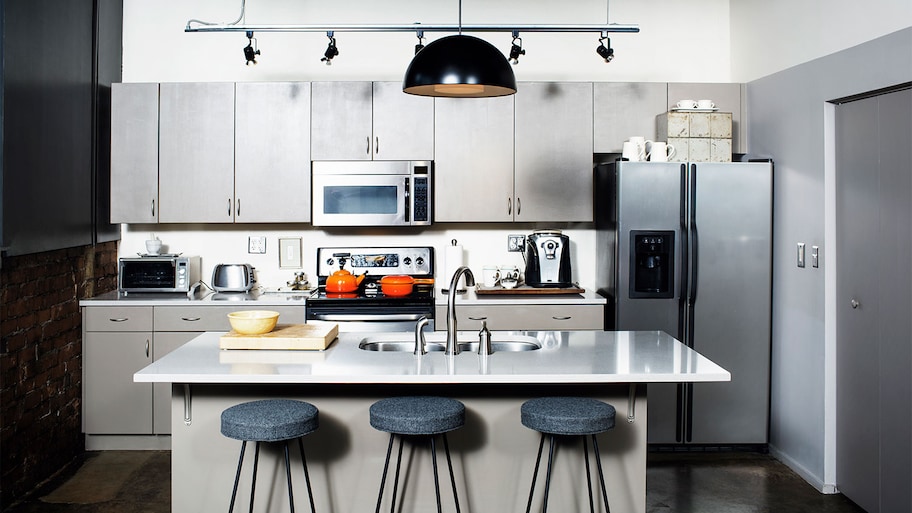
The microwave is a cornerstone appliance in most kitchens—but if counter space is limited, its bulky nature can make it difficult to find the perfect spot. Many homeowners decide to install theirs over the stove, either bolted directly into the cabinets or the wall above the oven.
Hiring a handyperson or professional installer might make sense, but going the DIY route will save you cash. In this how-to guide, we'll walk through how to install a microwave over the stove, plus some DIY tips for over-the-range installation. Keep in mind that these instructions reflect a kitchen with the correct hook ups already installed. That means your range has the correct ventilation and electrical components. If your range is missing that, you’ll need to call in an electrician to install the correct venting.
Prepping to Install Your Over-the-Range Microwave
First, measure the area and ensure the new microwave you purchase is going to fit your stove dimensions. Microwave sizes tend to be standard; most over-the-oven-range models measure 30-by-17-by-15 inches. Select one that fits your budget and space.
Angi Tip
Appliances are not a one-size-fits-all solution. Whether you’re replacing an existing appliance or installing a new one in an updated room or home, it’s extremely important to properly measure the space it’s going to live—and to consider factors like doors, drawers, etc.
Next, you’ll need to remove anything inside the cabinets that your microwave will sit under. This will make it easier to work through the installation and keep items from getting in the way (or getting damaged).
Once your microwave is chosen and in a box in your kitchen, here’s how to install it:
Find the Wall Studs
Use your stud finder to locate the wall studs behind your oven range. Use a pencil to mark these locations so you know where to drill later.
Apply the Paper Template
Your microwave should come with a paper template that either sticks to the wall (with removable adhesives) or one that can be taped up using painter's tape. Align the spots on your mounting bracket to the studs in the wall and press it to the wall.
Drill Your Pilot Holes
Use your power drill to put starter holes in place where the wall mounting bracket will come in contact with the studs. This is best done using auger bits, which typically come with a power drill kit when you buy it.
Choose an auger bit that's slightly smaller than the screws that come with your microwave. This way, you won't drill a hole so big that the screw fits loosely in the hole. If you aren't sure, use a chart online to measure the screws your kit comes with.
Apply the Paper Template to the Cabinets for Cords and Venting
Many over-the-range microwaves secure the top part of the microwave to a cabinet located above or to the side. This is where the cords and vent will run after installation.
Depending on your mounting situation, stick your paper template where it'll fit best in your kitchen. Clear out cabinets if needed to make space.
Cut Your Vent Openings
This step might not be needed depending on the model of microwave you choose. But most over-the-range microwaves, especially bigger ones, need a vent opening to channel exhaust either outside of your home or back into the room but away from the appliance. Without a vent, your microwave will be prone to overheating and may wear out faster.
Cut the vent opening (this should be pre-measured for you on the sticky template in your cabinet) using either a jigsaw or reciprocal saw.
Install the Mounting Bracket Using Your Pilot Holes
Line your mounting bracket up against the pilot holes you drilled into the marked stud points along the wall. Install your microwave's mounting bracket and drill them into the wall.
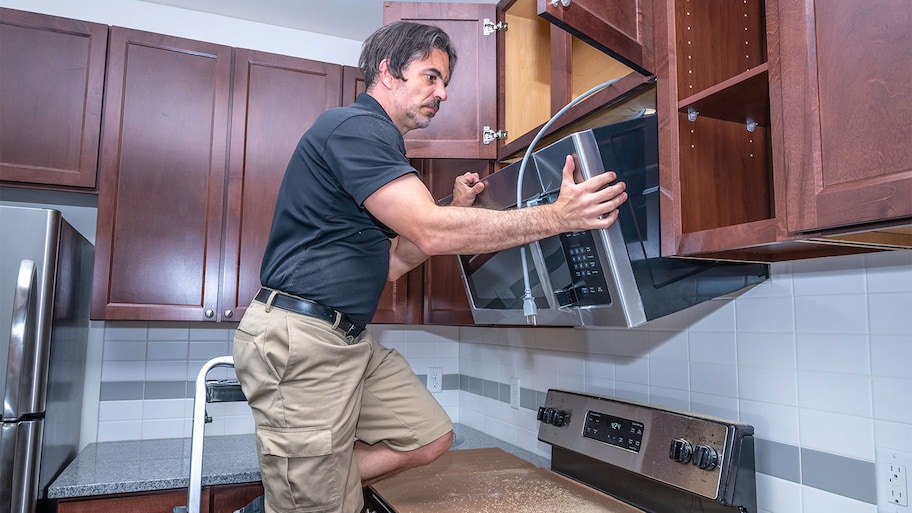
Position Your Microwave Over the Oven
Photo: spatesphoto / Adobe Stock
If you're installing a heavy microwave or have to use a ladder to hoist it over the oven, ask for help from a friend or family member before starting this step. Have someone support the bottom while you latch the backside over the mount and secure it into place.
Also, be sure the microwave's door is shut so it doesn't swing open during installation. Placing a piece of tape over the handle will ensure it doesn't open accidentally.
Secure the Microwave
Once in place, screw in the bolts or hook the microwave onto the frame to secure it against the wall. If you're using bolts, be sure they are fastened all the way against the wall. Before removing your hands, be sure everything is lined up and in place. You can also drill a wood block at the bottom of the cabinet for the microwave to drill into in order to reduce stain on your cabinet overall, but keep in mind this will slightly lower the placement of your microwave.
Connect Ductwork, If Necessary
In some cases, you can make a connection with the vent to your ductwork if it's installed above the oven already. It'll take some extra work, but make your life simple once you're done.
For this step you'll need caulk, tin snips, a power drill, metal screws, and a dust mask for safety. Mark the area you need to cut into, lining up your vent to get accurate dimensions. Cut a starter hole in the ductwork with a power drill to allow your tin snips to get in there. Fasten the vent to the ductwork using a power drill, then apply caulk around the edges to seal off the edges.
Reconnect the fan to your vent and run it through the cabinet if you had to dismantle it to connect to the ductwork.
Plug In the Power Cord and Test the Microwave
Final step! With the microwave secured to the wall or cabinets and adequate ventilation set up, plug in the power cord and test your microwave.
DIY vs. Hiring a Pro
Assuming you have a friend or family member that can help you install the microwave safely, this is a DIY project that's worth tackling on your own if you feel comfortable doing it. Microwave installation costs as much as $185 to have a professional do it. You may be able to save by hiring a local handyperson to tackle the job, but it'll still likely cost at least $100 for labor. If you change your mind and decide to forgo the microwave, installing a range hood costs about $750 on average.
Generally speaking, installing an appliance costs $120 to $170. So any time you can DIY install a new appliance in your kitchen or elsewhere in the house, you'll save a good chunk of cash.
Frequently Asked Questions
The size of the microwave you choose may change this answer, but for standard over-the-range microwaves, 120 volts and a three-prong grounded outlet is needed for your device.
While not always necessary, a venting system does help keep your microwave from overheating. It also prevents potential smells from wafting or lingering in your kitchen, which for some homeowners, makes installing a vent over the top of your microwave worth it.
The cost to have a microwave vent installed starts around $150, but may exceed $300 if you have to cut through cabinets or install a new line to your ductwork. This is another reason tackling the project DIY can totally be worth it from a financial standpoint if you're willing to do the labor yourself.
Ben is a writer, media strategist, and DIY enthusiast. A former teacher, he's written two books and published articles on major publications like Business Insider and Elite Daily. He lives in Denver.
Ben is a writer, media strategist, and DIY enthusiast. A former teacher, he's written two books and published articles on major publications like Business Insider and Elite Daily. He lives in Denver.
The homeowners guide to Appliance Repair
From average costs to expert advice, get all the answers you need to get your job done.