Whether you think it’s charming or ugly, wood paneling makes a statement. The good news is learning how to paint wall paneling is easy. It’s a weekend project that will personalize and transform this feature into one you’ll love. Use this guide for a budget-friendly and stylish way to update your room without tearing up walls.
How to Paint Wall Paneling in 10 Steps
Bring your wood paneling to the next level

Photo: Perry Mastrovito / Image Source / Getty Images
Photo: Perry Mastrovito / Image Source / Getty Images

Written by Dawn M. Smith
Contributing Writer
Updated February 28, 2024
Difficulty
Easy
Simple project; big impact.
Time to complete
48 hours
This project can take a whole weekend, depending on the prep work and drying time.
Cost
$50–$100
You’ll wonder why everyone doesn’t do this themselves.
Need professional help with your project?
Get quotes from top-rated pros.
What you'll need:
TOOLS
- Ladder
- Drop cloth
- Plastic sheeting
- Putty knife
- Paintbrushes
- Paint rollers
- Paint trays
- Sponges
- Cloths
- Vacuum
SUPPLIES
- Dishwashing soap
- Paintable caulk
- Wood filler
- 150-grit sandpaper
- Painters tape
- Primer
- Interior paint
Evaluate the Wall Paneling’s Condition
 Photo: Andreas von Einsiedel / Corbis Documentary / Getty Images
Before rolling on the paint, note the paneling’s condition so you can buy the right supplies and plan your project. Your attention to the prep work matters—washing and prepping the walls are critical for the perfect finish.
If the paneling is heavily soiled or stained, washing the walls is an important step. Most cleaning jobs only require grease-fighting dish soap, but getting rid of cigarette smells might require a TSP (trisodium phosphate) cleaner.
Determine if your paneling is solid wood or has a vinyl finish that looks like wood. You can check by sanding a hidden piece of paneling and see if the vinyl falls away. If it does, you’ll have to skip the sanding and look for a high-performance primer.
Purchase Your Supplies
 Photo: AllNikArt/ iStock / Getty Images Plus / Getty Images
Note how many holes, cracks, or damaged areas you’ll need to fix so you’ll know which products to buy, like caulk and wood filler. This also helps you plan how much drying time to schedule between repairs and painting. You’ll also decide whether to fill the grooves that wood paneling often has. You might prefer a flat finish or decide to keep the lines visible because they add a stylish dimension similar to beadboard paneling.
You’ll either choose an oil-based primer or stain-blocking latex primer. Generally, latex products work for most wood panel painting projects and are easier to apply and clean up. However, some paneling (especially sheets with lots of wood knots) requires an oil-based primer to keep stains from seeping through. Talk with a paint pro at a home improvement store if you’re unsure of which primer to use.
Empty the Room
 Photo: Spiderstock / E+ / Getty Images
It's easiest to paint a room without furniture, so remove as much furniture as possible. After, unscrew the outlet and light switch covers and store them in plastic bags, or consider adding new ones to help freshen up your room’s overall look.
Protect the Floor and Wash the Walls
 Photo: M.Dörr & M.Frommherz / Adobe Stock
Protect the floor from the soapy water and paint products with a plastic sheet or painter’s drop cloth. Then, wash the paneling with dish soap or TSP. You might need a ladder to reach the highest points. Make sure to let the paneling dry before moving on.
Fill the Holes and Grooves
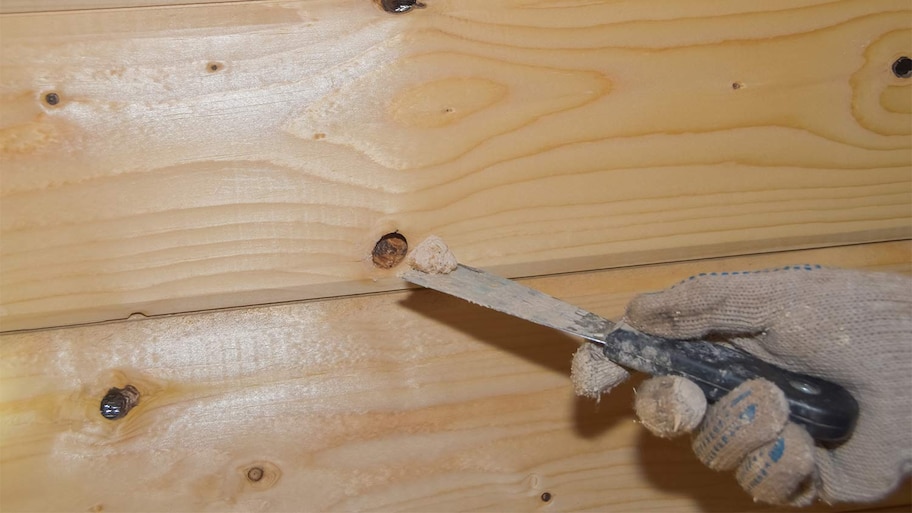 Photo: DmitryPK / iStock / Getty Images Plus / Getty Images
Take the time to correct the paneling’s blemishes with paintable caulk and wood filler for the smoothest finish. Fill in gaps, cracks, seams, and grooves (if you choose to do so), but let everything dry before sanding, priming, and painting.
Sand the Paneling
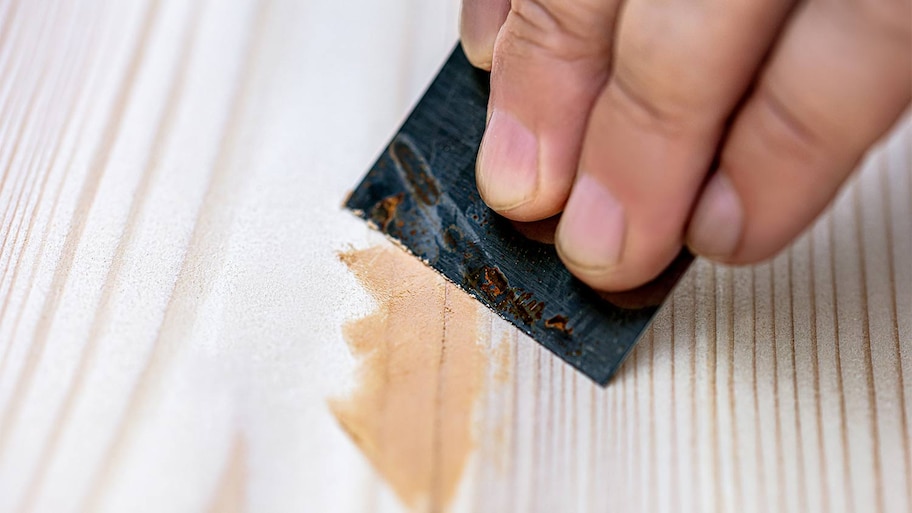 Photo: M.Dörr & M.Frommherz / Adobe Stock
Sand away extra texture from the wood filler and caulk with 150-grit sandpaper or sanding blocks so the primer and paint go on evenly. If your paneling needs light sanding for the primer and paint to adhere, now is the time. Later, use a damp cloth to remove excess dust from the paneling. Don't forget to vacuum the remaining dust before applying primer and paint.
Tape Off Before Painting
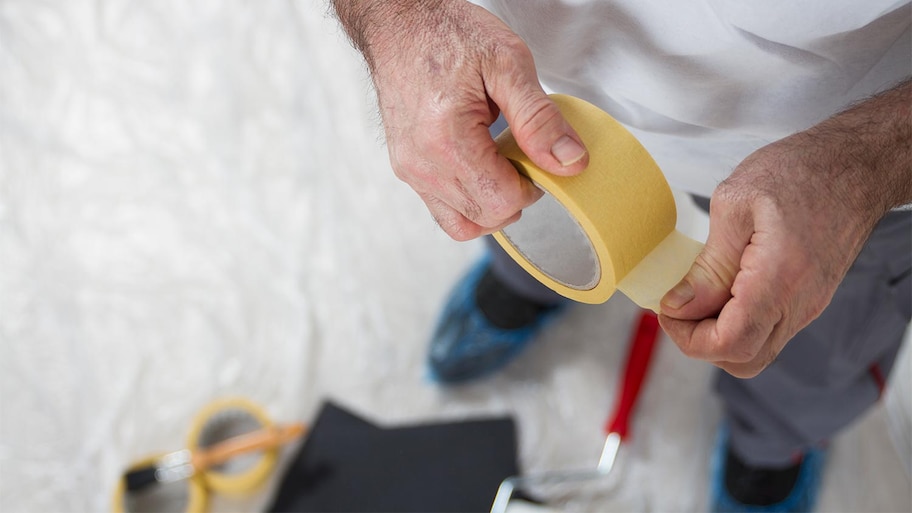 Photo: Visual Art Agency / iStock / Getty Images Plus / Getty Images
Decide whether or not to prime and paint the trim (molding, doors, or ceiling) in addition to the wood paneling. If you only want the paneling covered, apply painter’s tape to protect the existing trim colors.
Note: If you plan to add another color to your trim, prime everything at once, and then add the painter’s tape to the trim after it's dried so you can paint straight lines with the new color.
Brush and Roll on the Primer
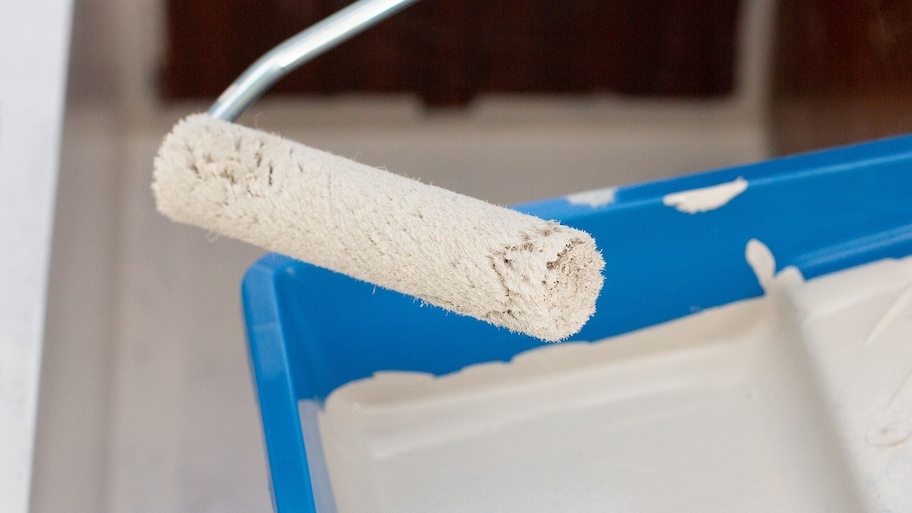 Photo: Irina Vasilevskaia / iStock / Getty Images Plus / Getty Images
Start by working from the ceiling down and priming the grooves with brush strokes. Then, use the paint roller to cover the rest. After the primer is completely dry, you may need another coat to hide stains. Let the second coat dry before adding the color.
Paint the Paneling
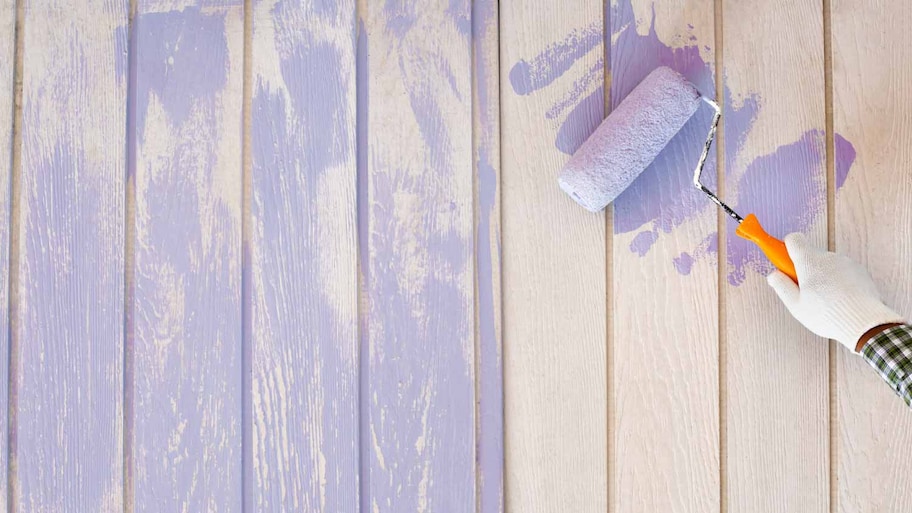 Photo: Nitchakul Sangpetch / EyeEm / Getty Images
To paint like a pro, follow the same steps as priming the paneling, but be careful not to let the paint in the grooves dry before you can smooth it over with the paint roller. The paint roller pulls double duty and erases brush marks. Plan for a second coat of paint to get a professional look.
Paint Your Trim, Ceiling, and Windows
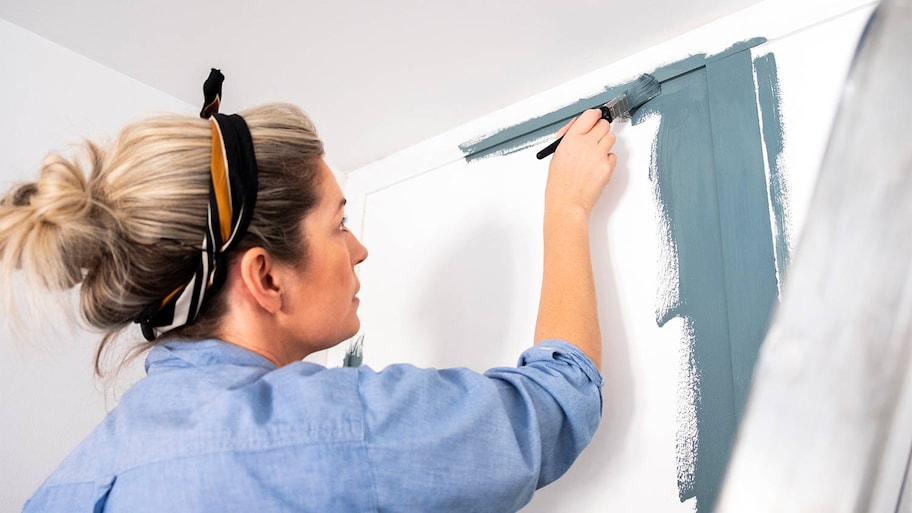 Photo: SolStock / E+ / Getty Images Plus / Getty Images
If you need a big update and want to paint the room’s trim, ceiling, or windows, wait for the paint on the paneling to dry, add painter's tape to protect the new color, and then tackle the last bit of the project.
DIY vs. Hiring a Pro
Painting wood paneling is a great beginner DIY project. But if you're short on time, tools, and patience, a professional interior painter can knock out the project quickly with expert results. On average, you can expect to pay about $3.30 per square foot for the cost of interior painting. If you’re not feeling up to the task, find the best wall painters near you to get the job done.
Frequently Asked Questions
In most cases, paint primer is necessary before painting over wood paneling. A hardy primer formula covers up stains and leaves a grippy surface for the new paint to hold onto. If you don’t use a primer first, you risk poor adhesion, visible blemishes, and a paint top coat that could flake away later.
There are two primer choices: oil-based or latex-based. Choose an oil-based primer for durability and adhesion, but prepare for extra dry time and more VOC (volatile organic compounds) fumes. Or, pick a stain-blocking latex primer. They’re easy to apply, clean up, and affordable.
Latex paint is a good option to use on wood panels because it's user-friendly and easy to find in home improvement stores. It comes in a variety of finishes ranging from high-gloss to flat. Depending on the amount of paneling, a professional painter’s favorite is often a satin or eggshell finish. They add a bit of sheen and shine, but not too much. Latex paint is also water-based, so cleanup is quick, and you can easily scrub your brushes clean.
It's possible to paint over paneling without sanding if you use a primer that masks defects and provides a strong base layer for the final coat of paint to adhere to. If you have solid wood paneling, it's helpful to sand it lightly so your primer and paint stick. But, if your paneling has a faux veneer, skip the sanding because you’ll remove a layer and expose the pressed board underneath.
It’s okay to paint over wood paneling, but you should be sure to use a primer first. You may also need to sand it before painting, depending on the paneling’s condition. Painting your wood paneling can give it a fresh look and make your room feel new.
Need professional help with your project?
Get quotes from top-rated pros.
Learn more about our contributor
The homeowners guide to Interior Painting
From average costs to expert advice, get all the answers you need to get your job done.